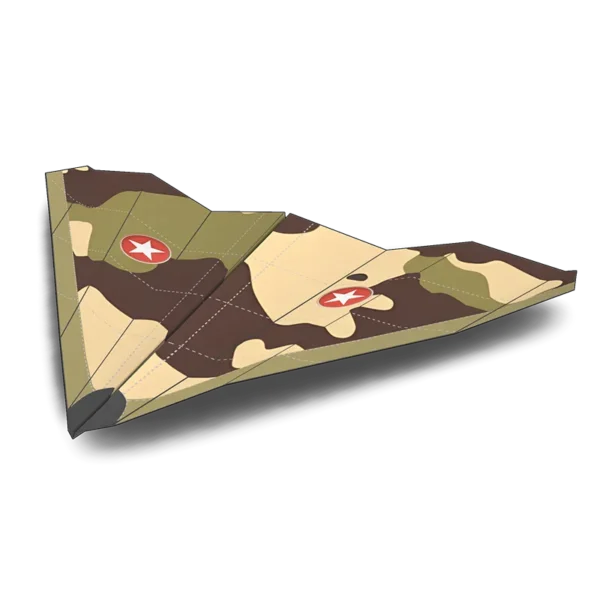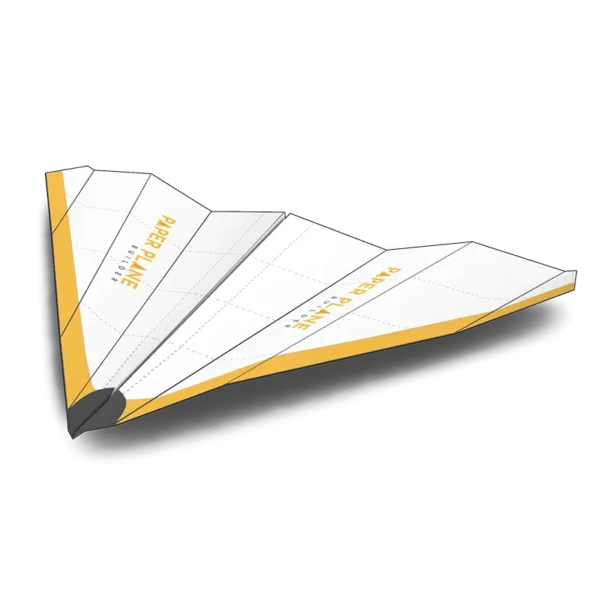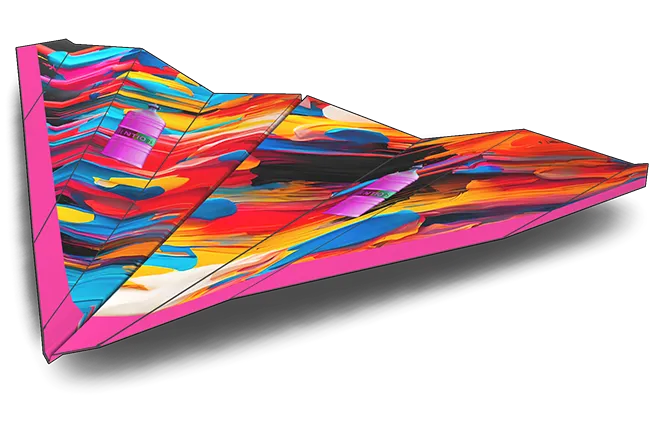
Meet the Nighthawk, your go-to glider for long-distance flights and smooth sailing through the air.
Designed for extended airtime, the Nighthawk allows you to watch in awe as it effortlessly cuts through the air on its journey across living rooms or school hallways.
This article will guide you through every fold and tweak needed to create your own Nighthawk glider—a perfect blend of science, creativity, and playfulness. So grab some paper, prepare for lift-off, and dive into the world of high-flying adventures with this remarkable flyer!
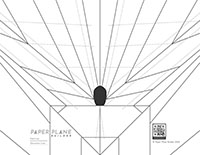
Start with the graphics pointing down and the nose pointed away from you.
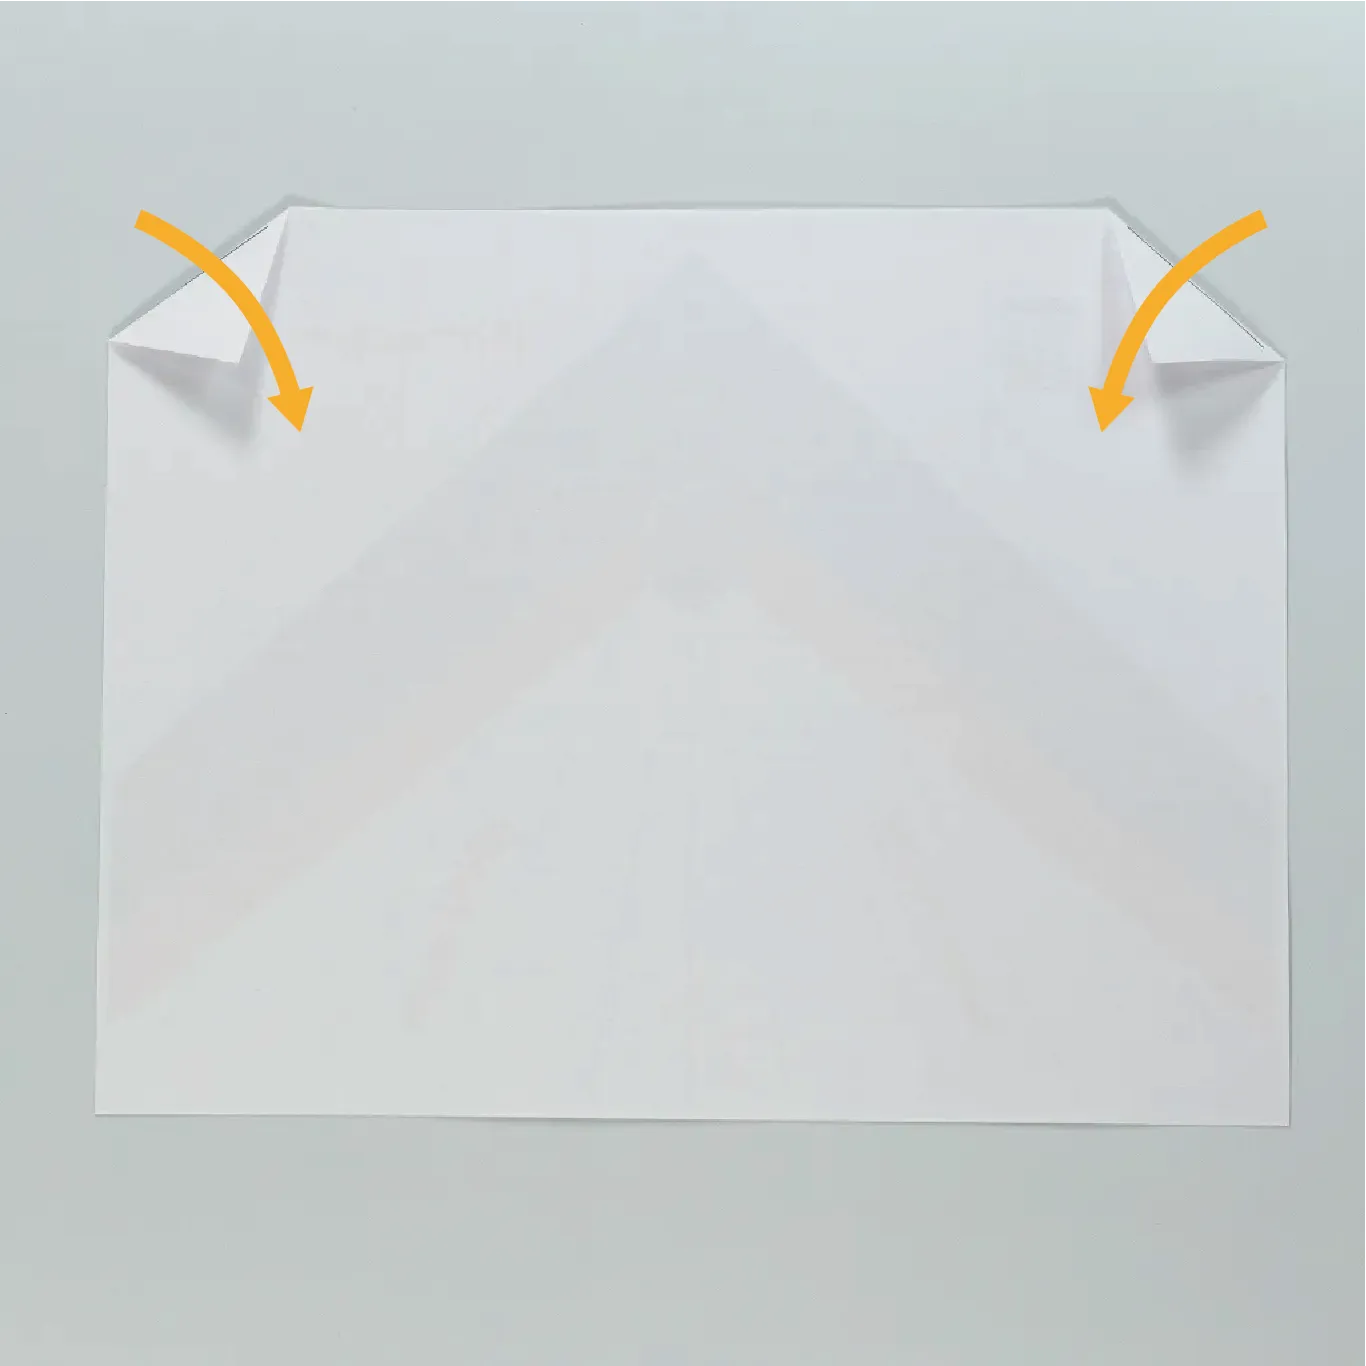
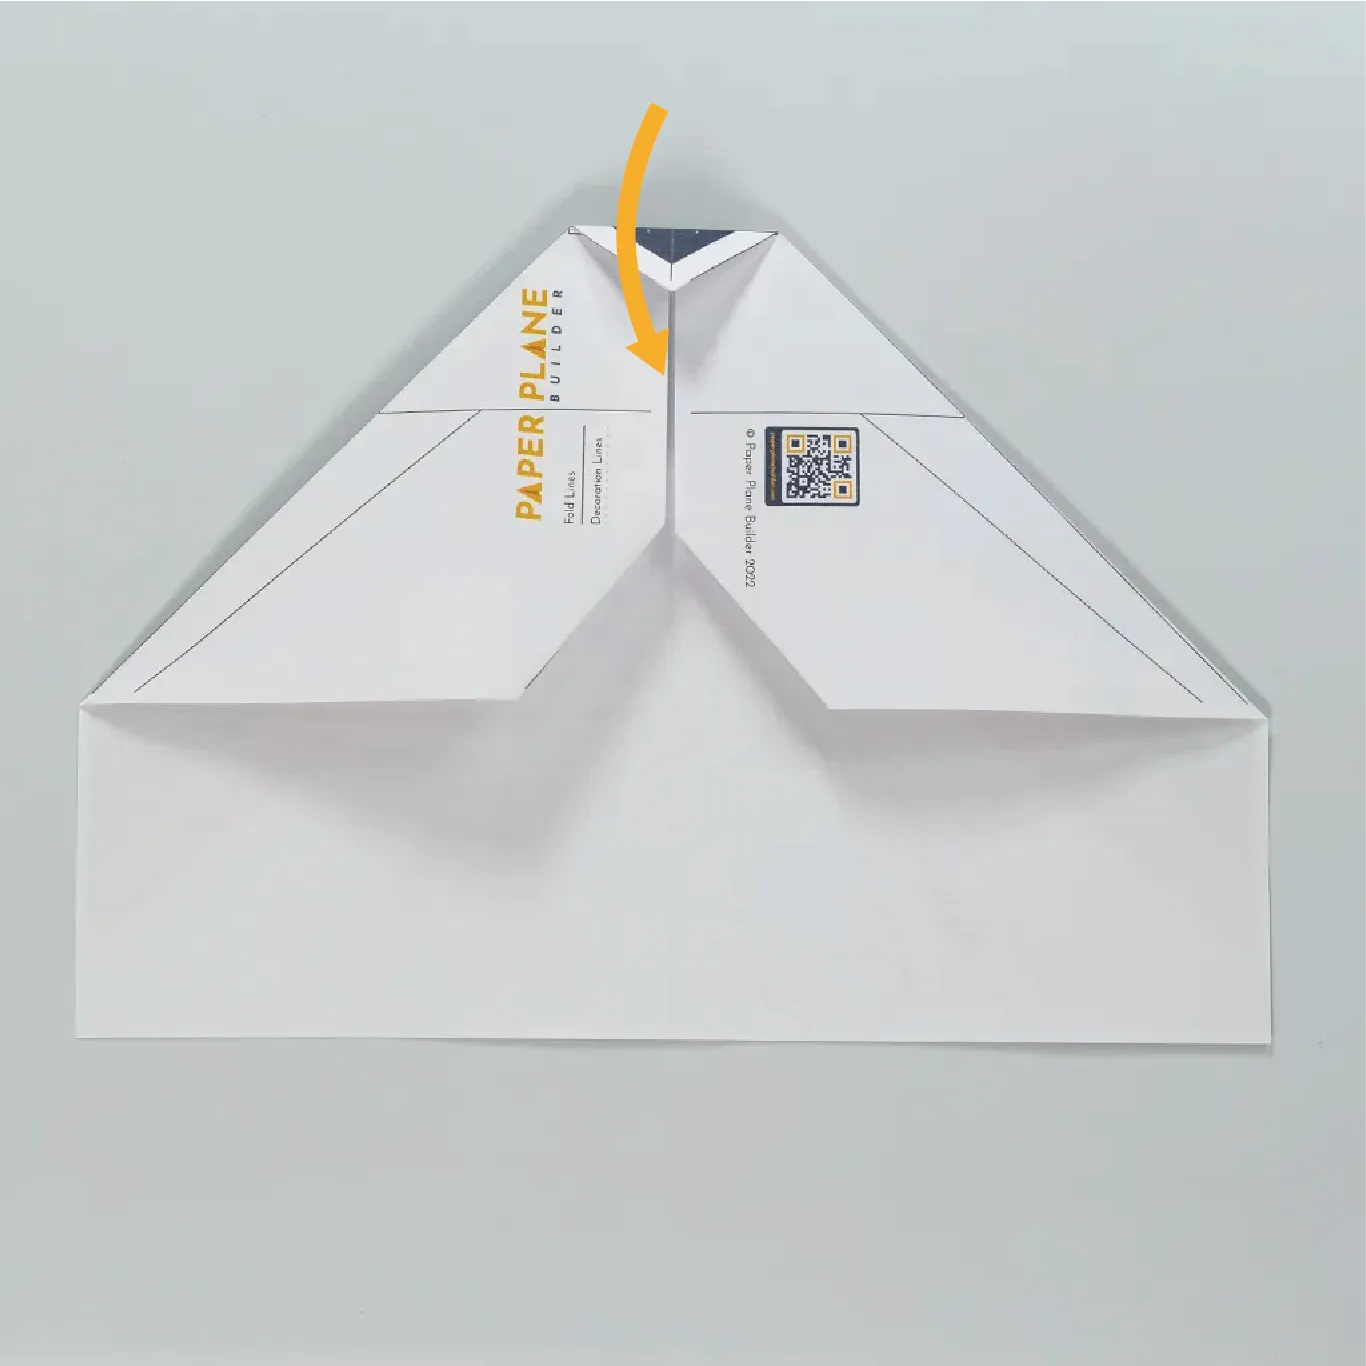
Fold the top tips of the upper left and right corners inward.
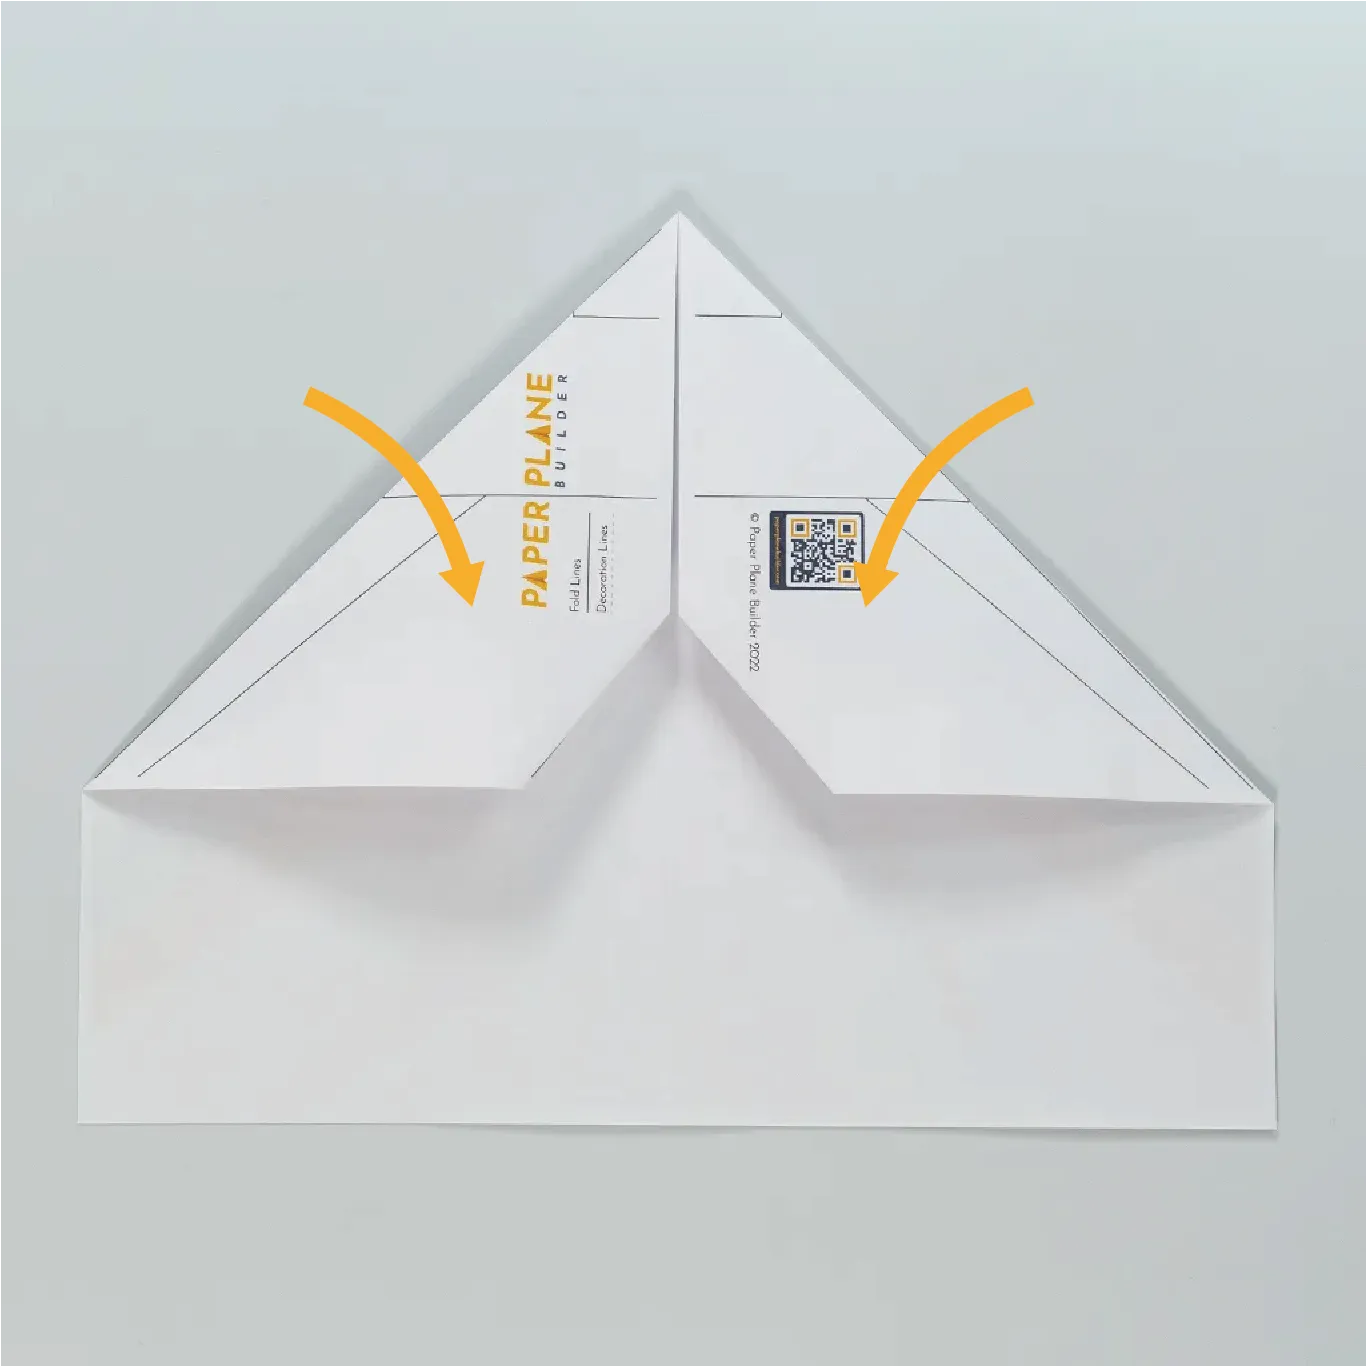
Fold the upper left and right corners inward again.
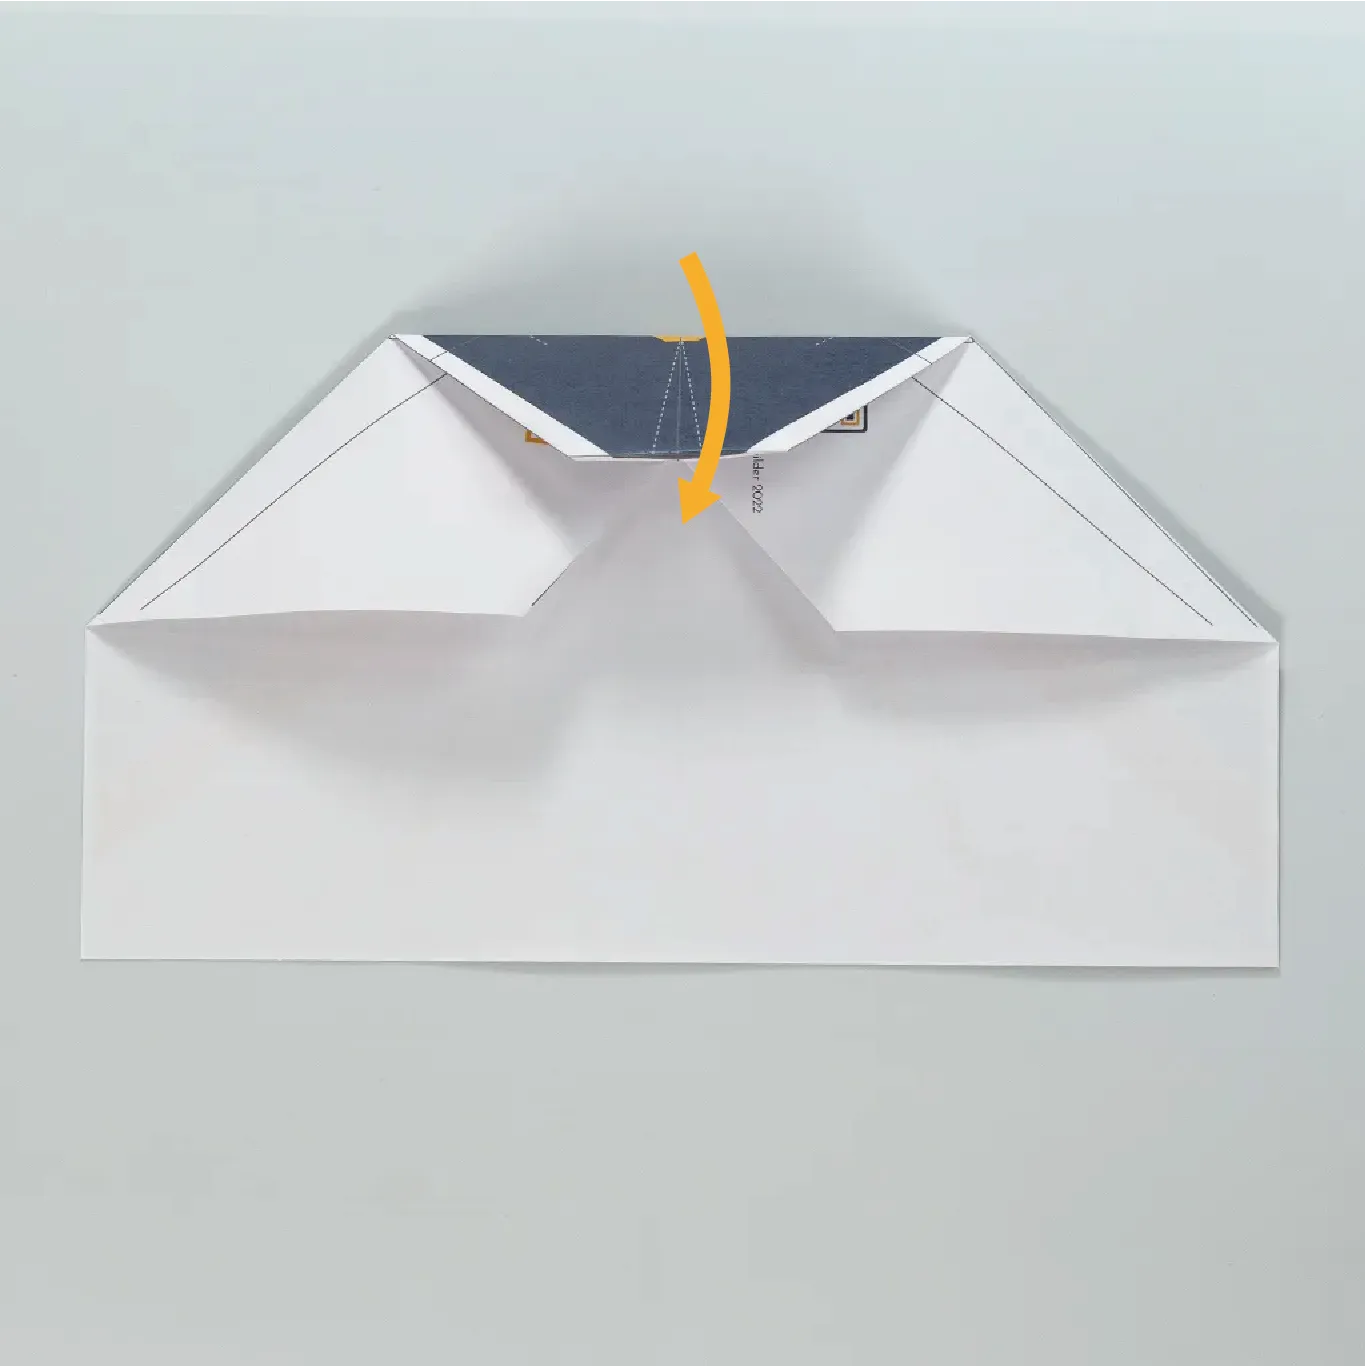
Fold the newly created nose of the plane toward you.
Fold the nose of the plane toward you again.
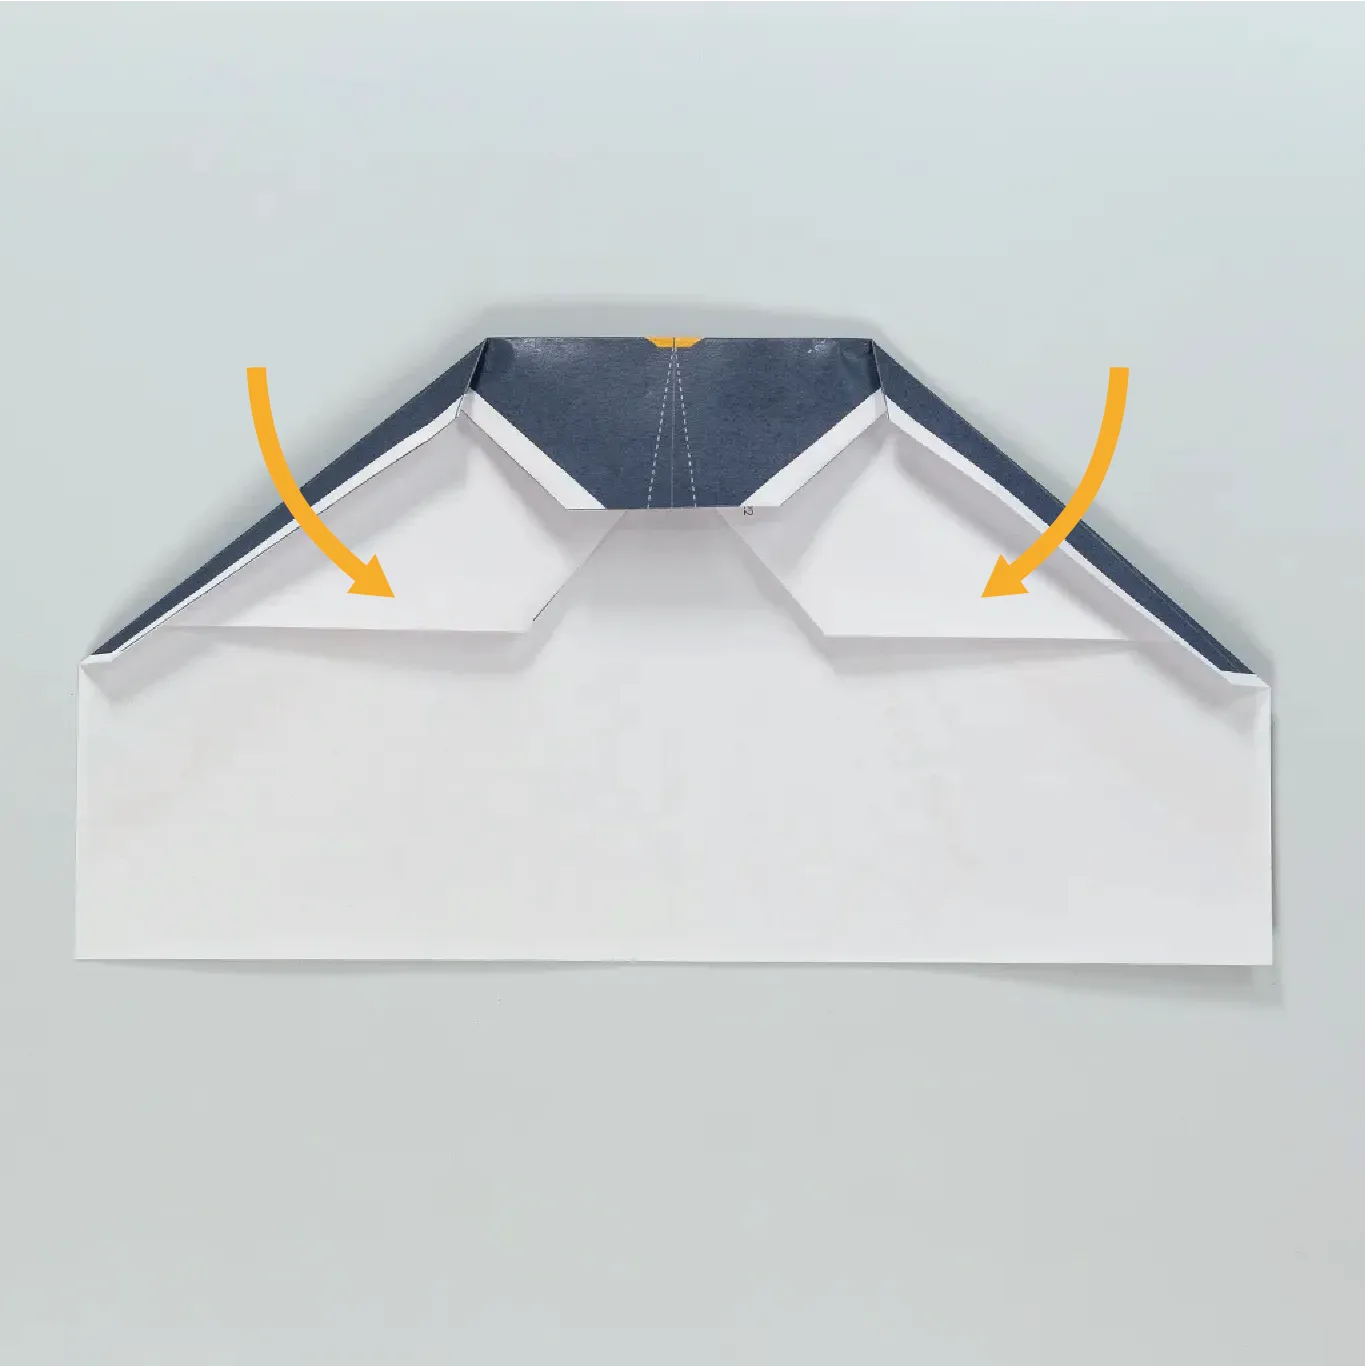
Fold the edge of the left and right wings inward.
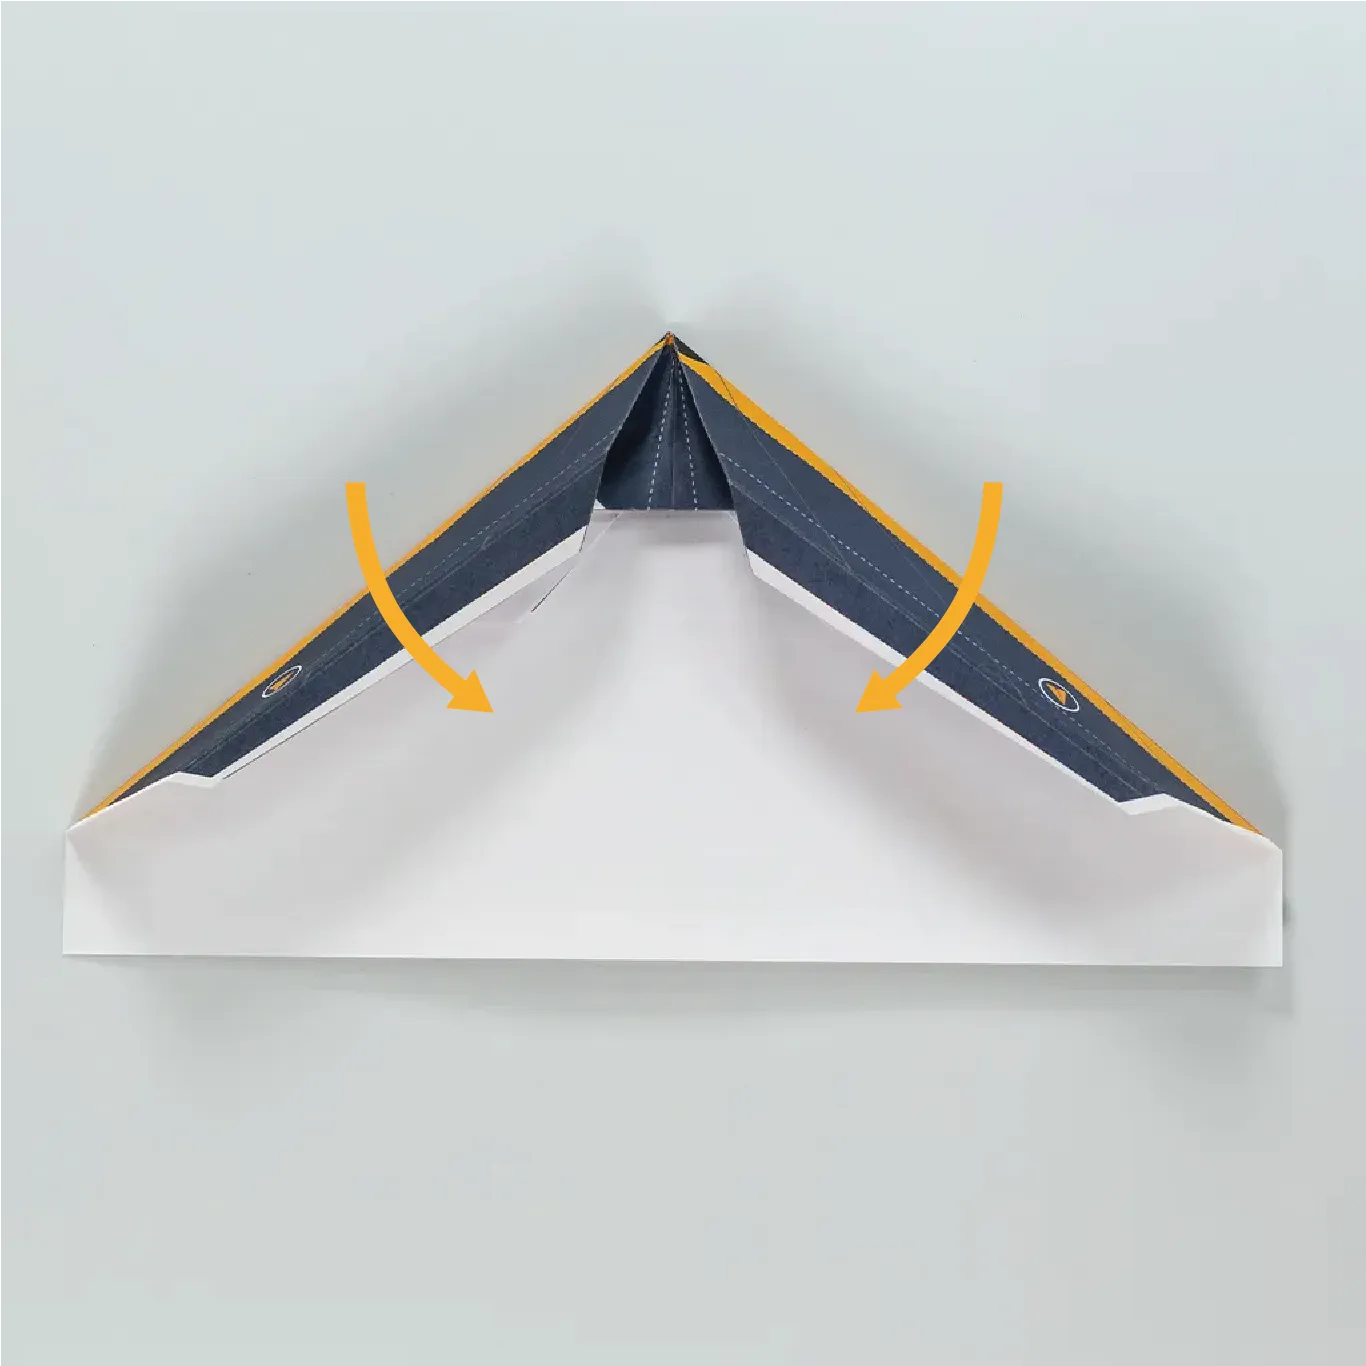
Fold the edge of the left and right wings inward again.
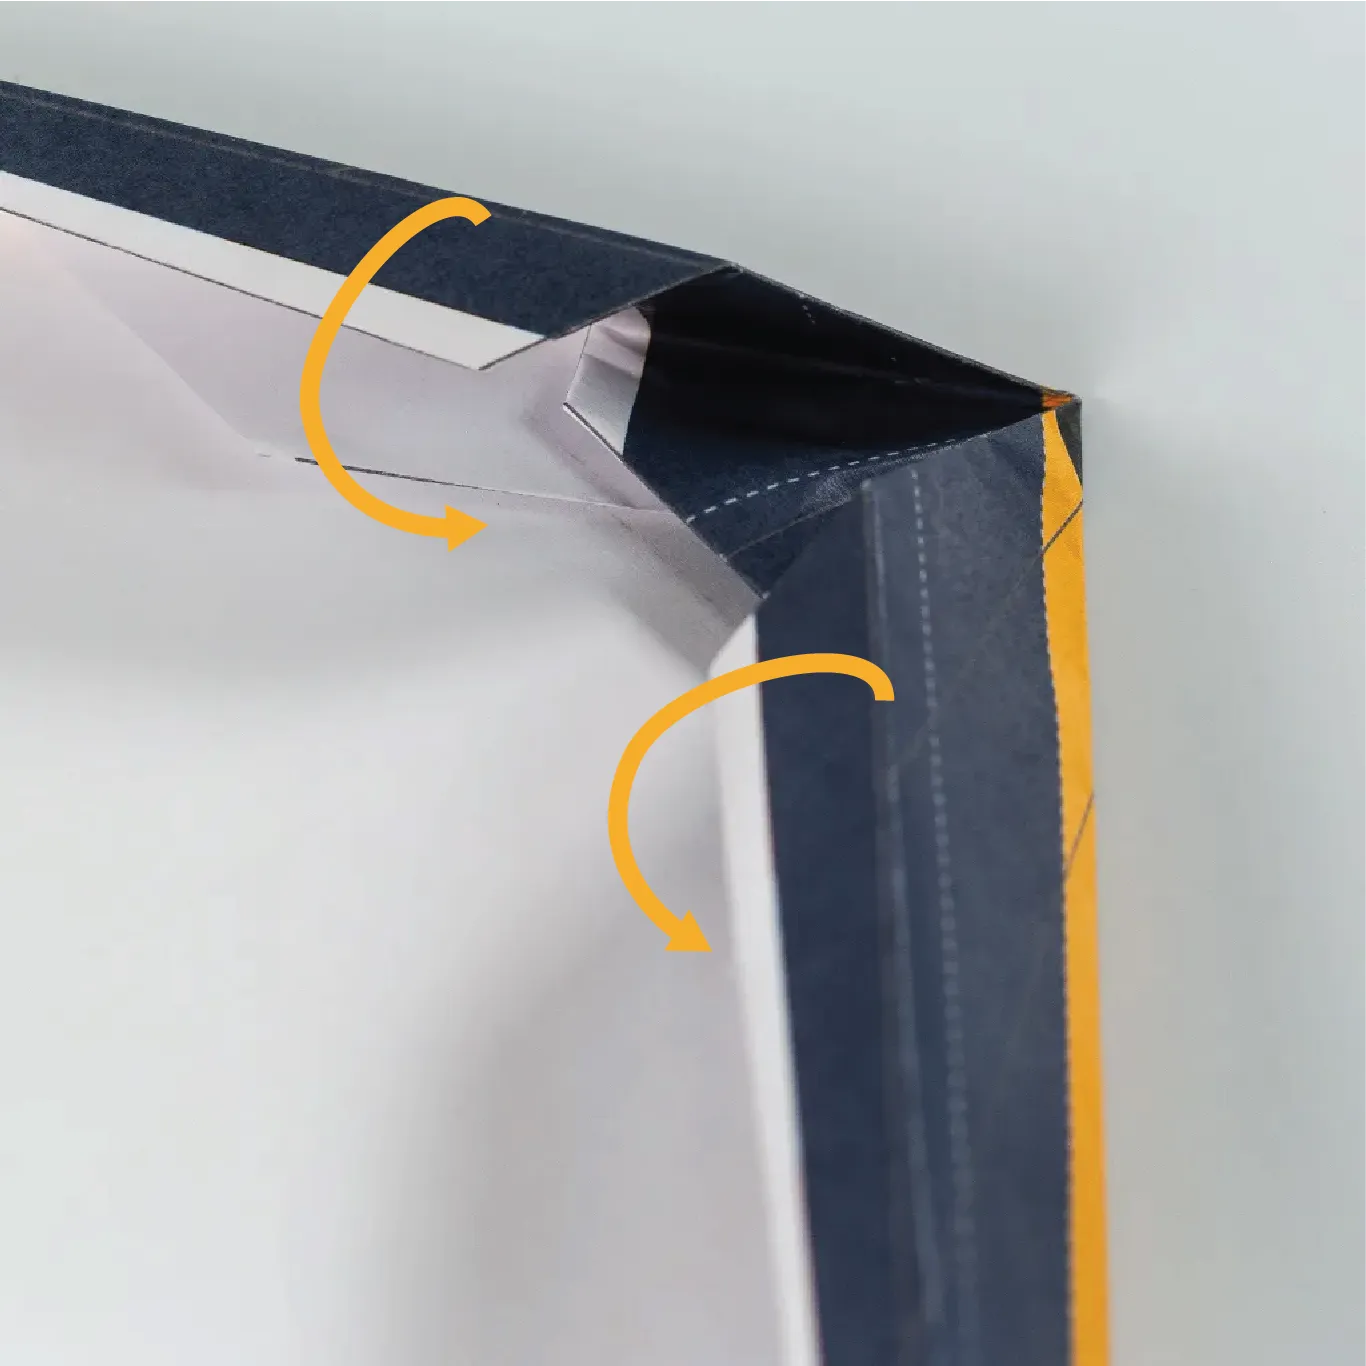
Slip the first wing fold under the nose of the plane.
Crease the wing and nose folds to tie the paper plane together.
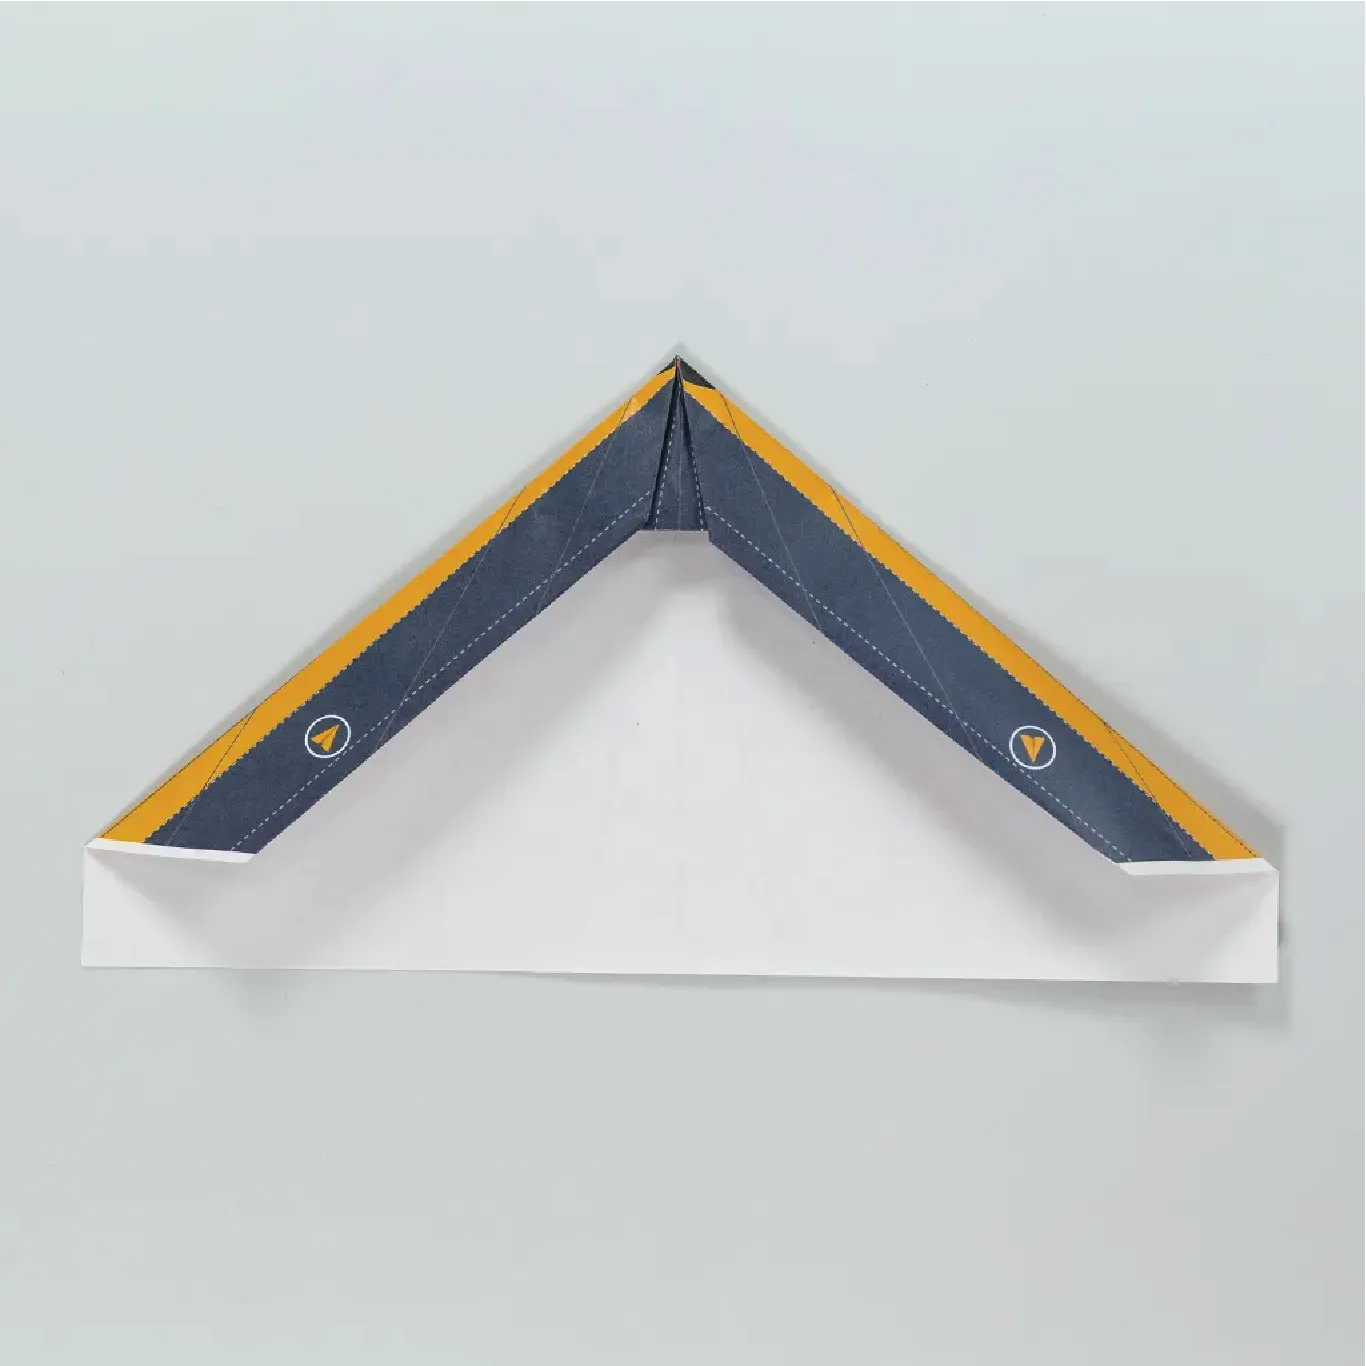
Fold the plane along the center to create the fuselage and wings.
Fold the plane inwards and crease to define the wings.
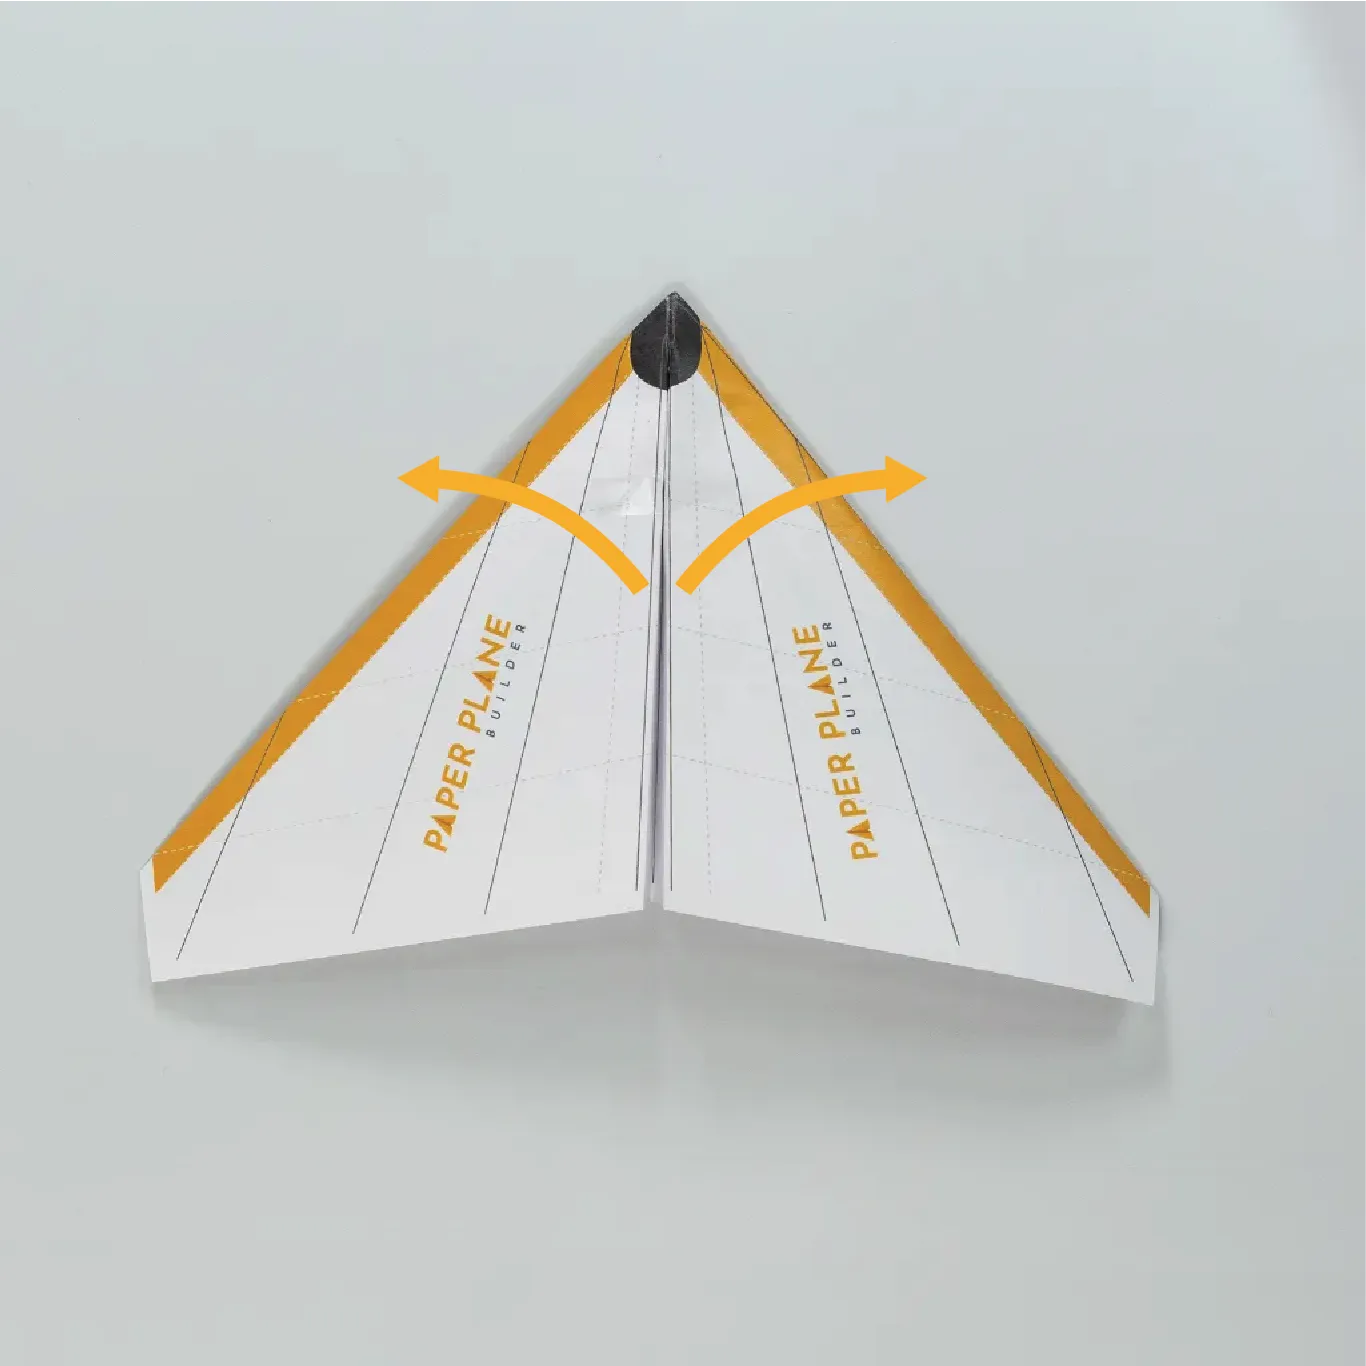
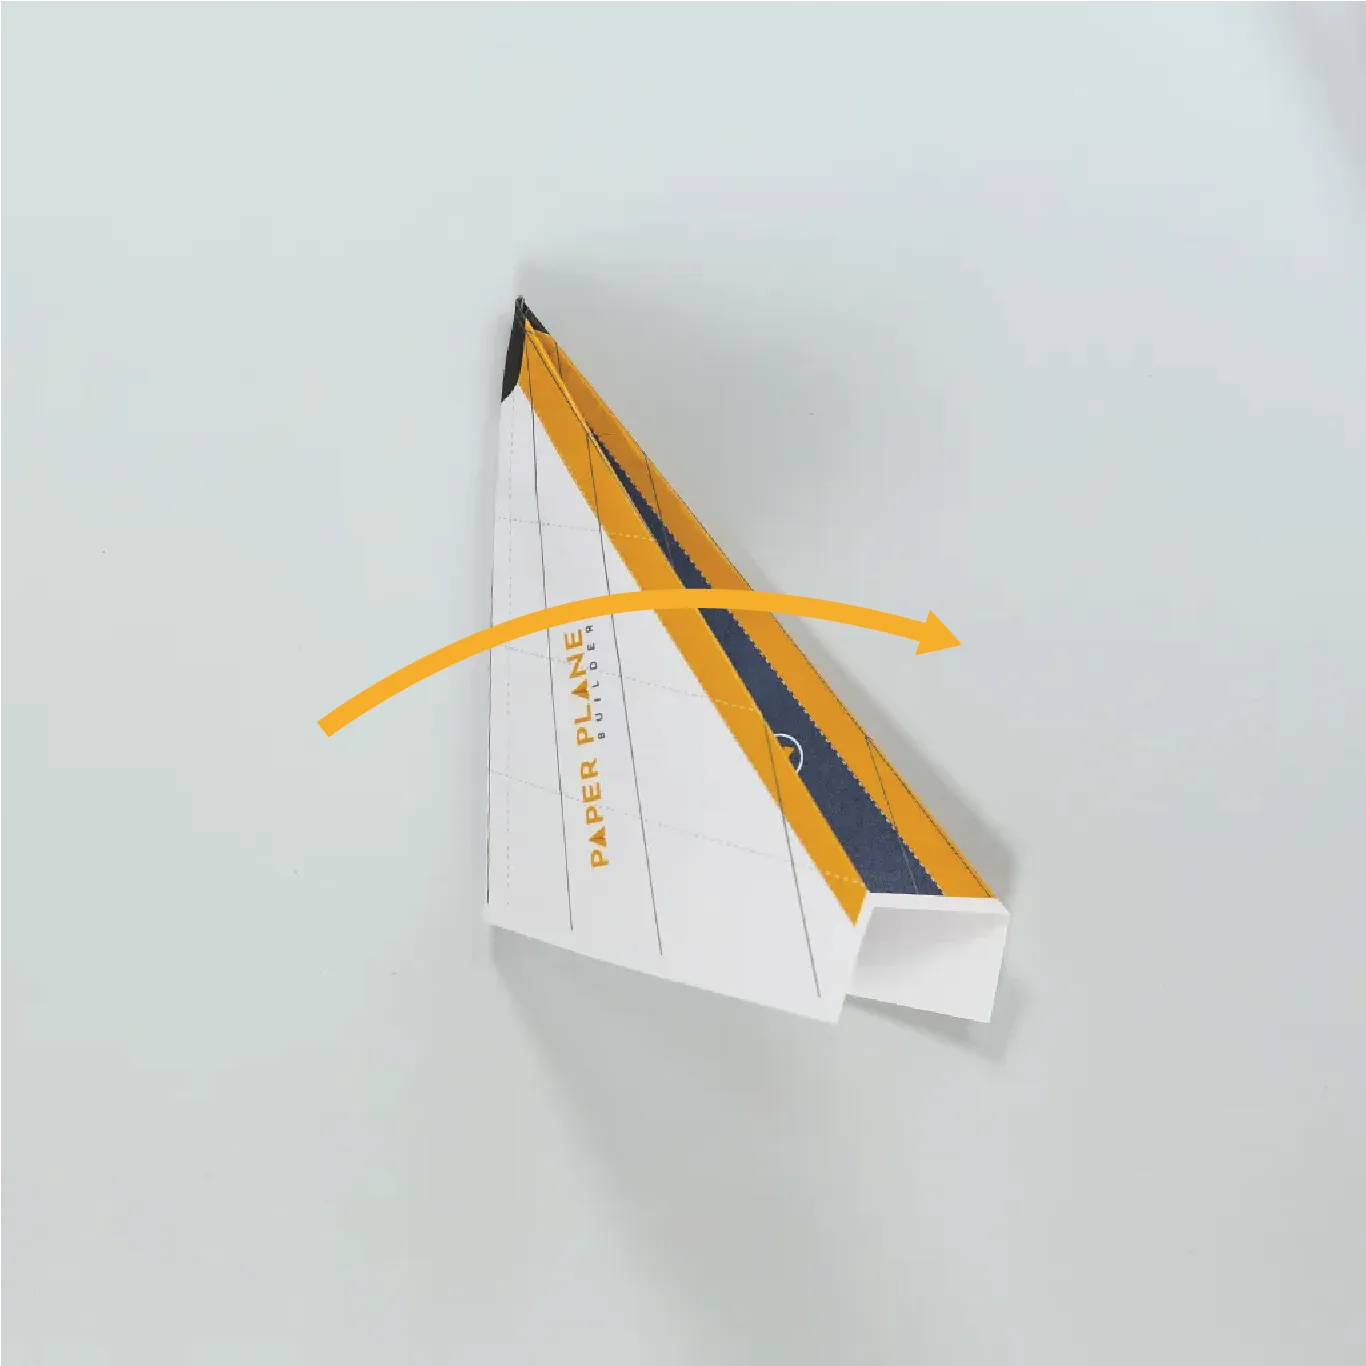
Flatten the wings to complete the glider’s shape and add a small piece of tape just behind the nose to help the plan hold it’s shape.
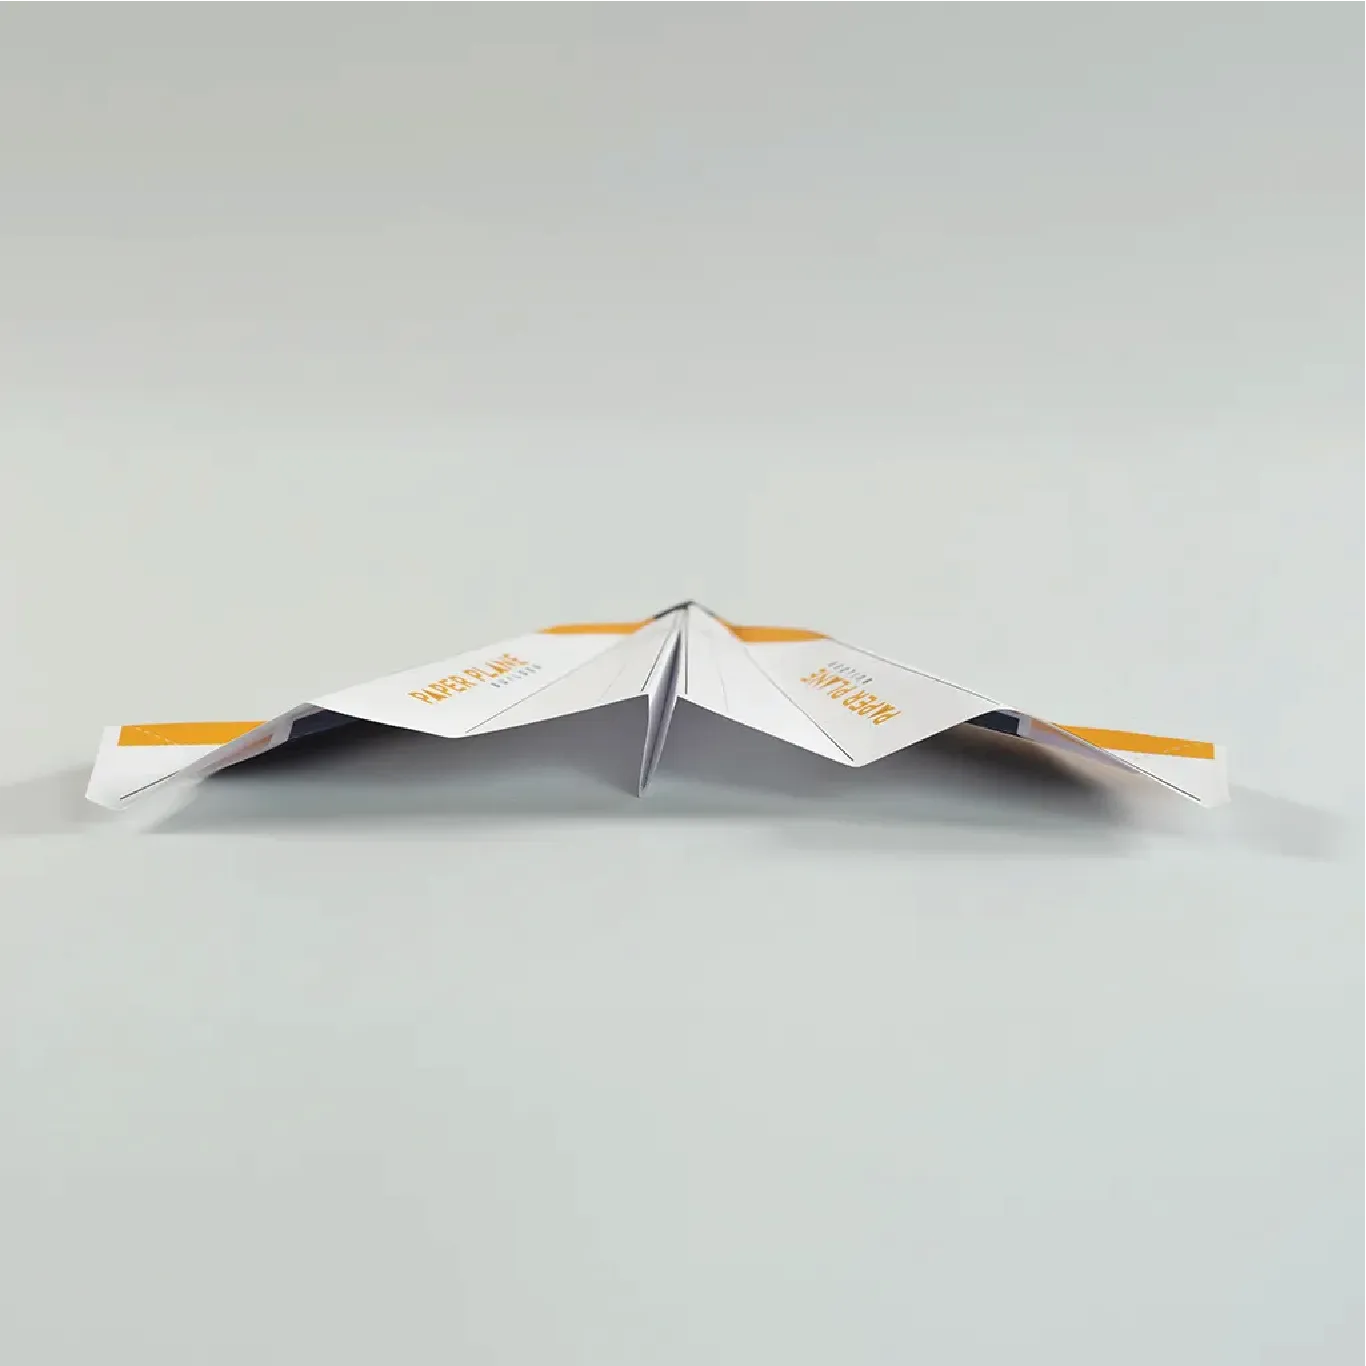
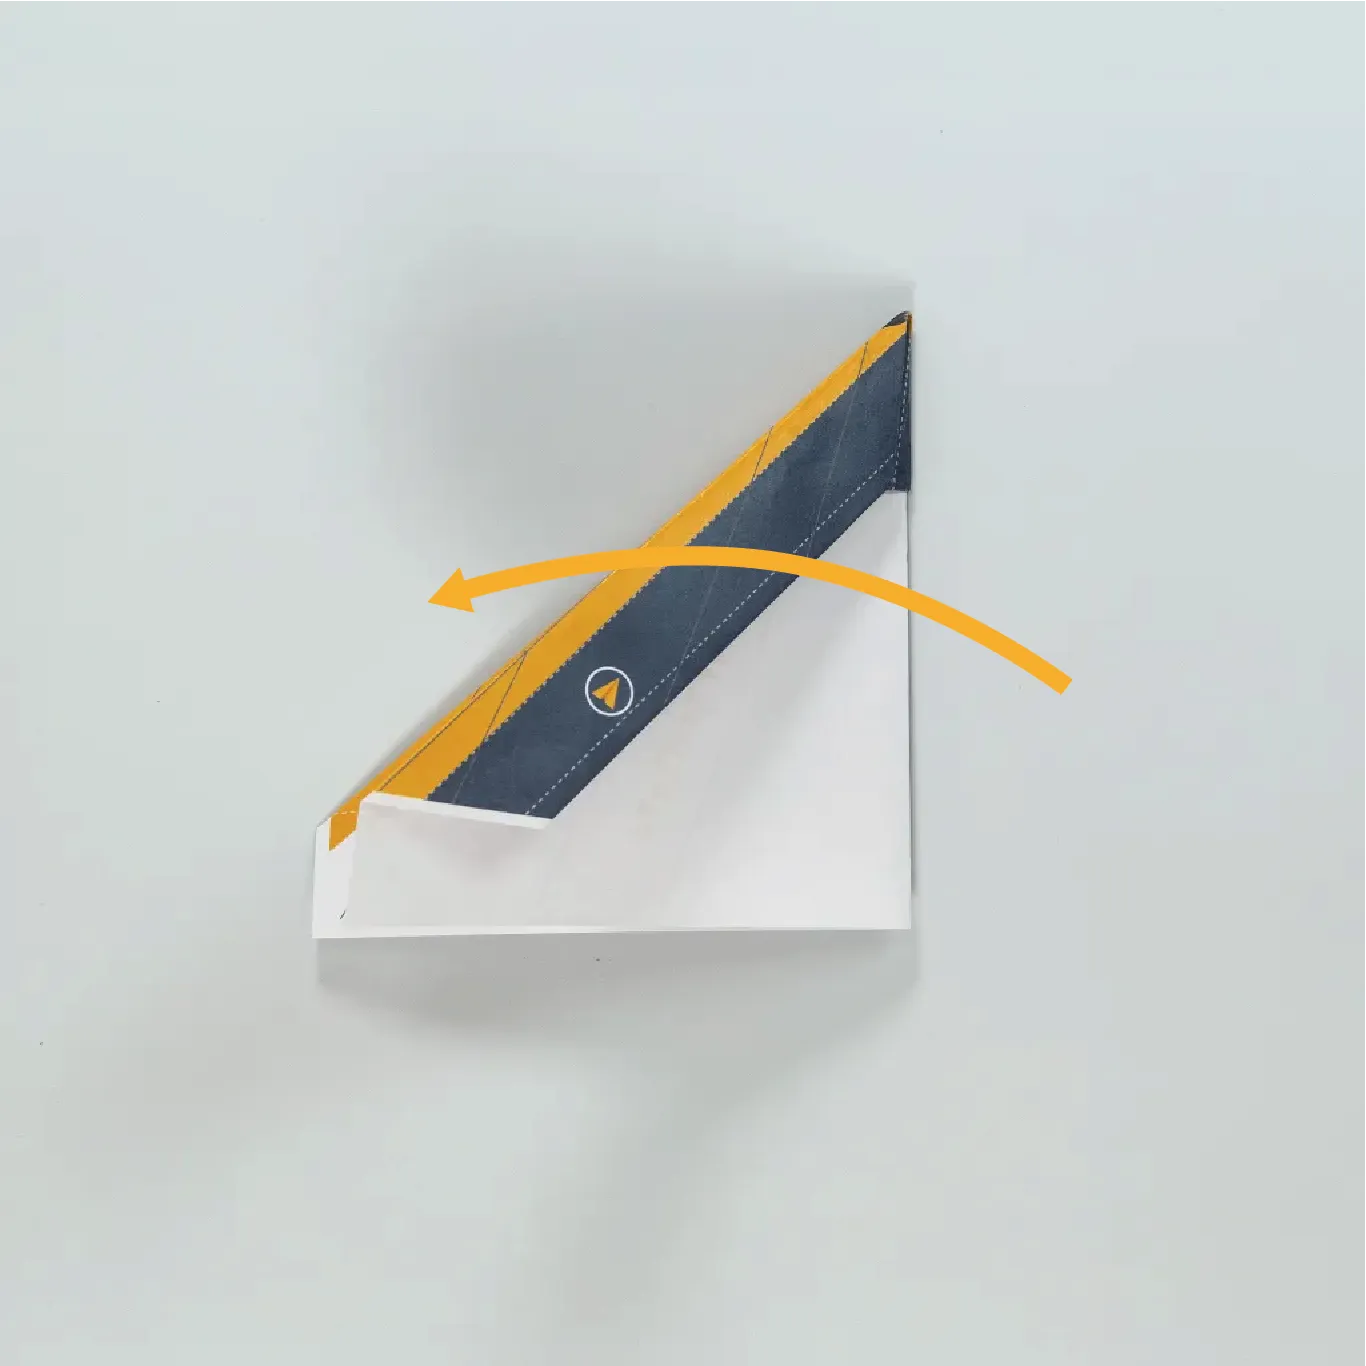
Create alternating folds along the wing to create a more rigid structure.
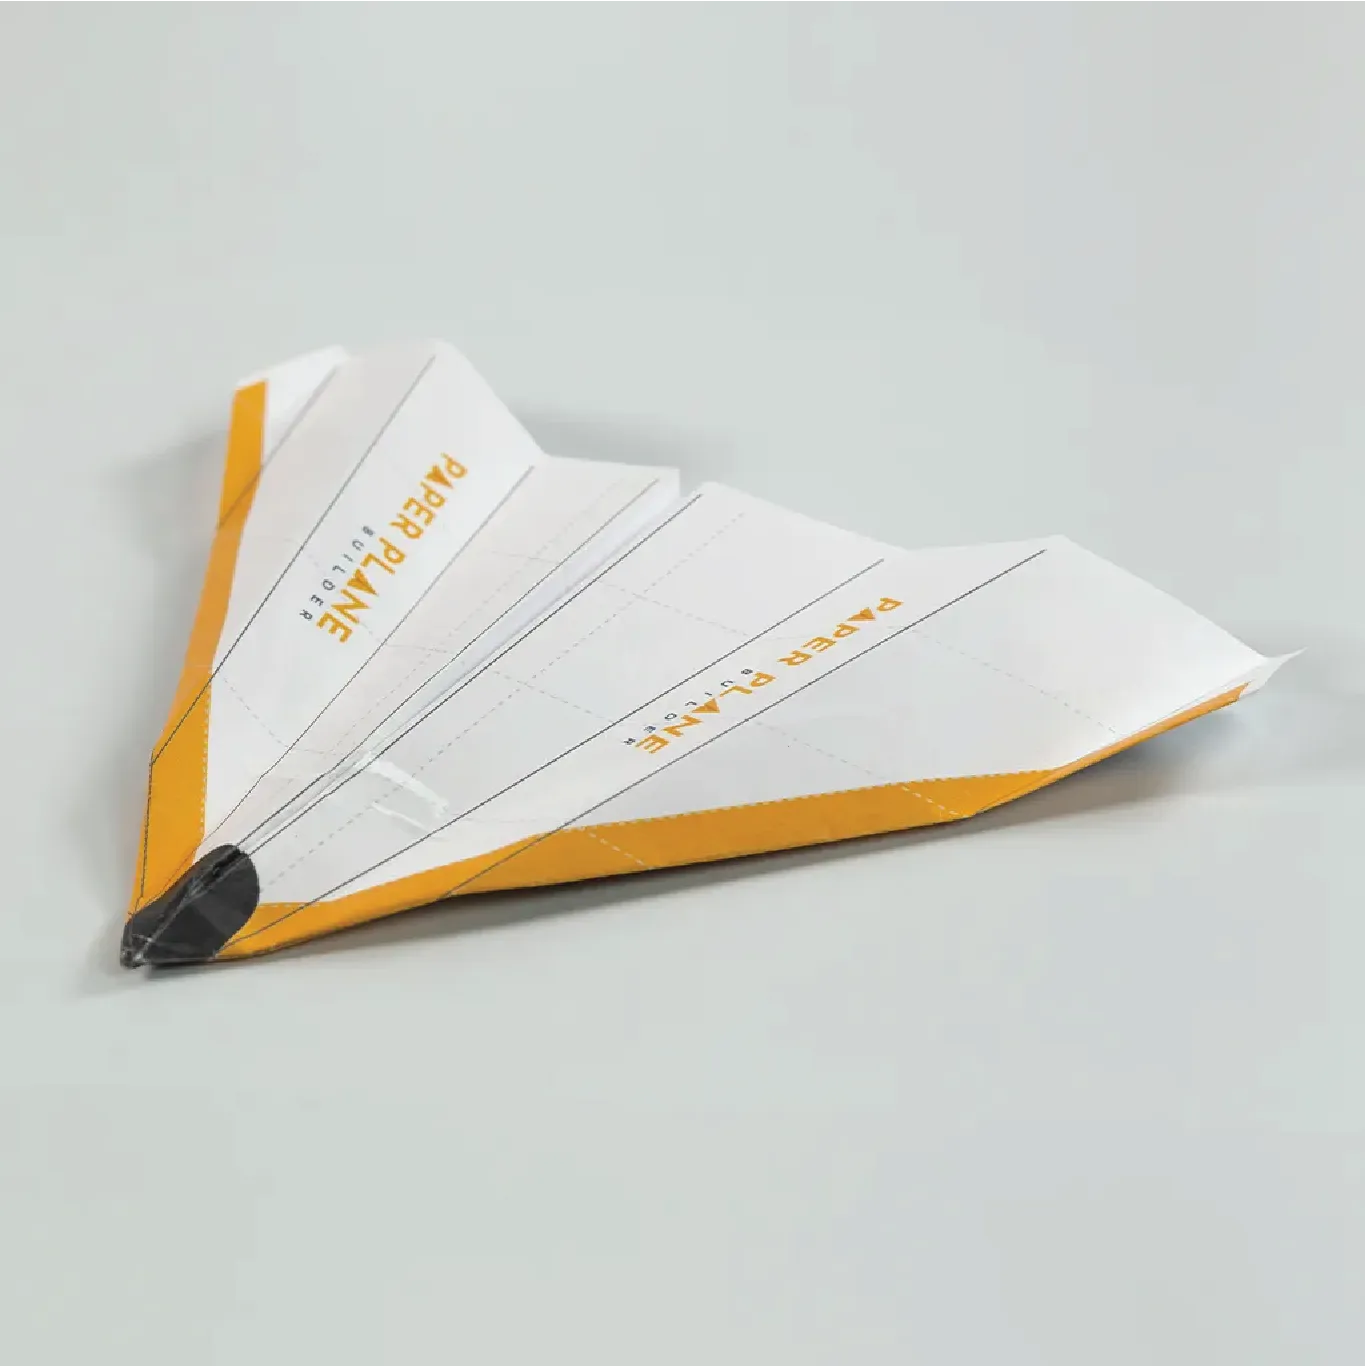
Finally, take your new plane for a test flight.