Folding the Corporate Jet paper airplane template for the first time is a little difficult, pay close attention to the wings, tail and nose. If you have any trouble you can watch the folding video on YouTube.
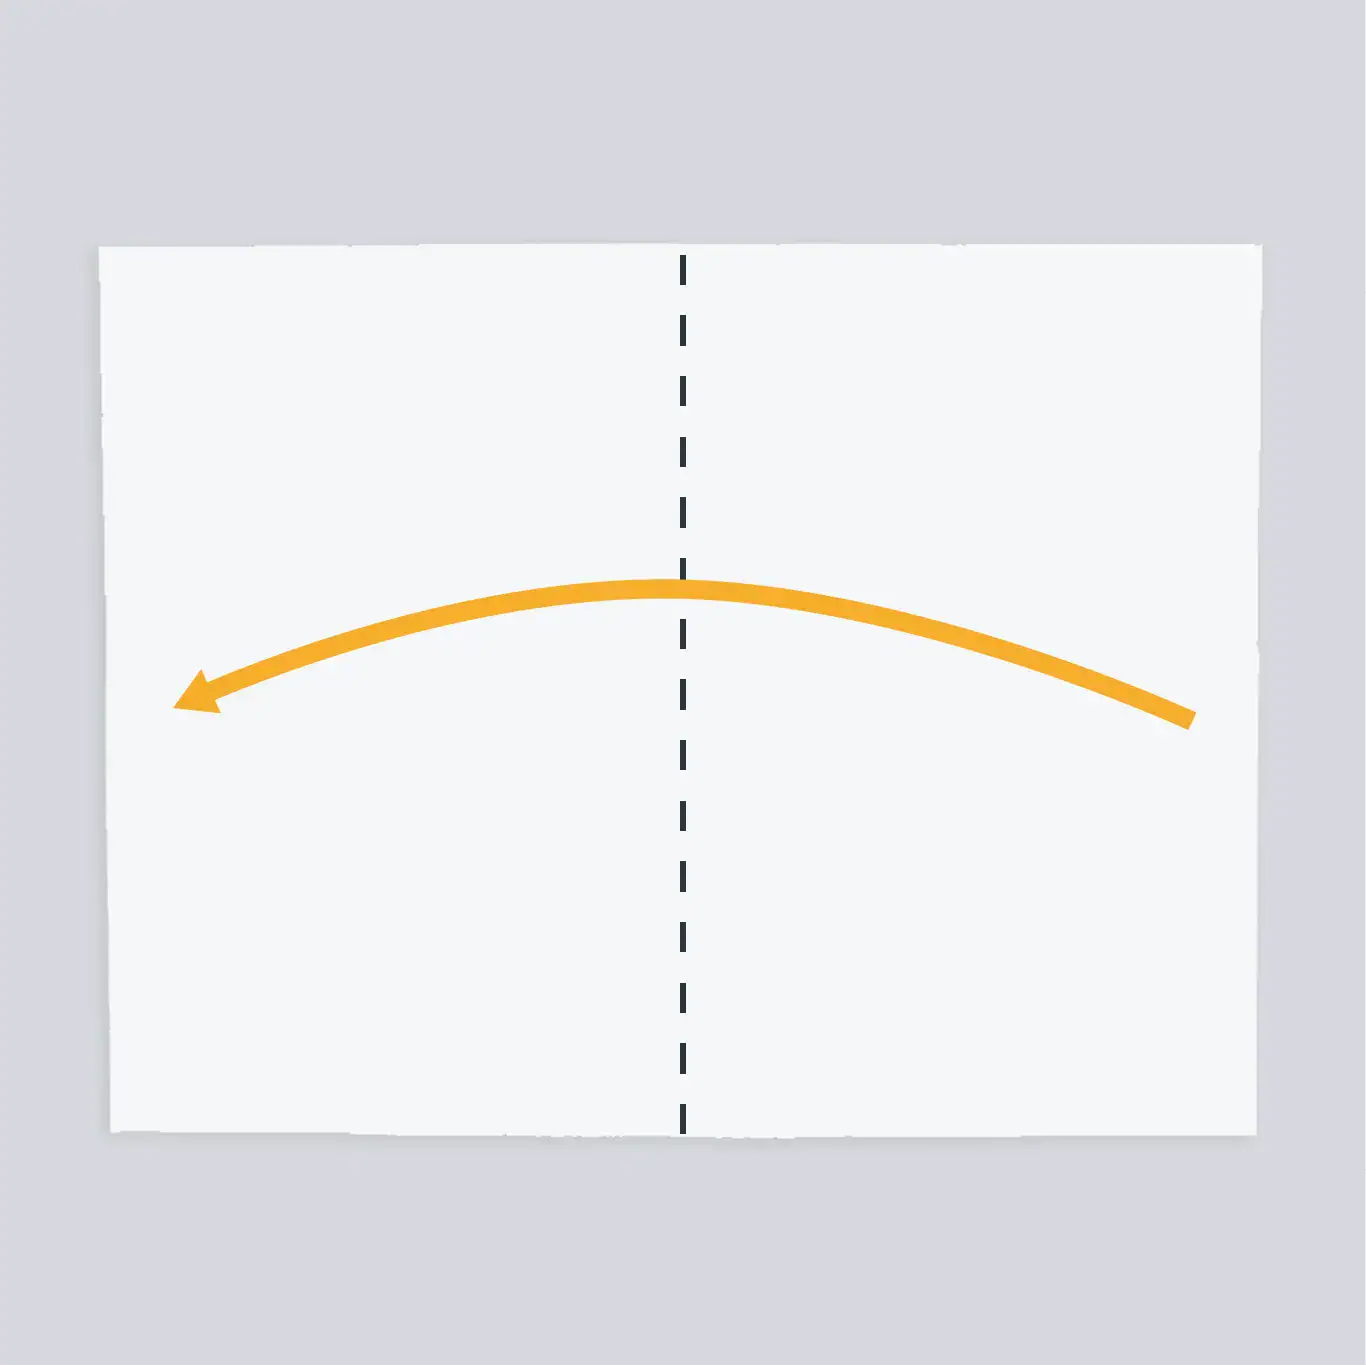
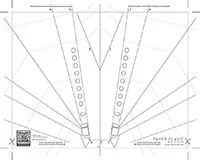
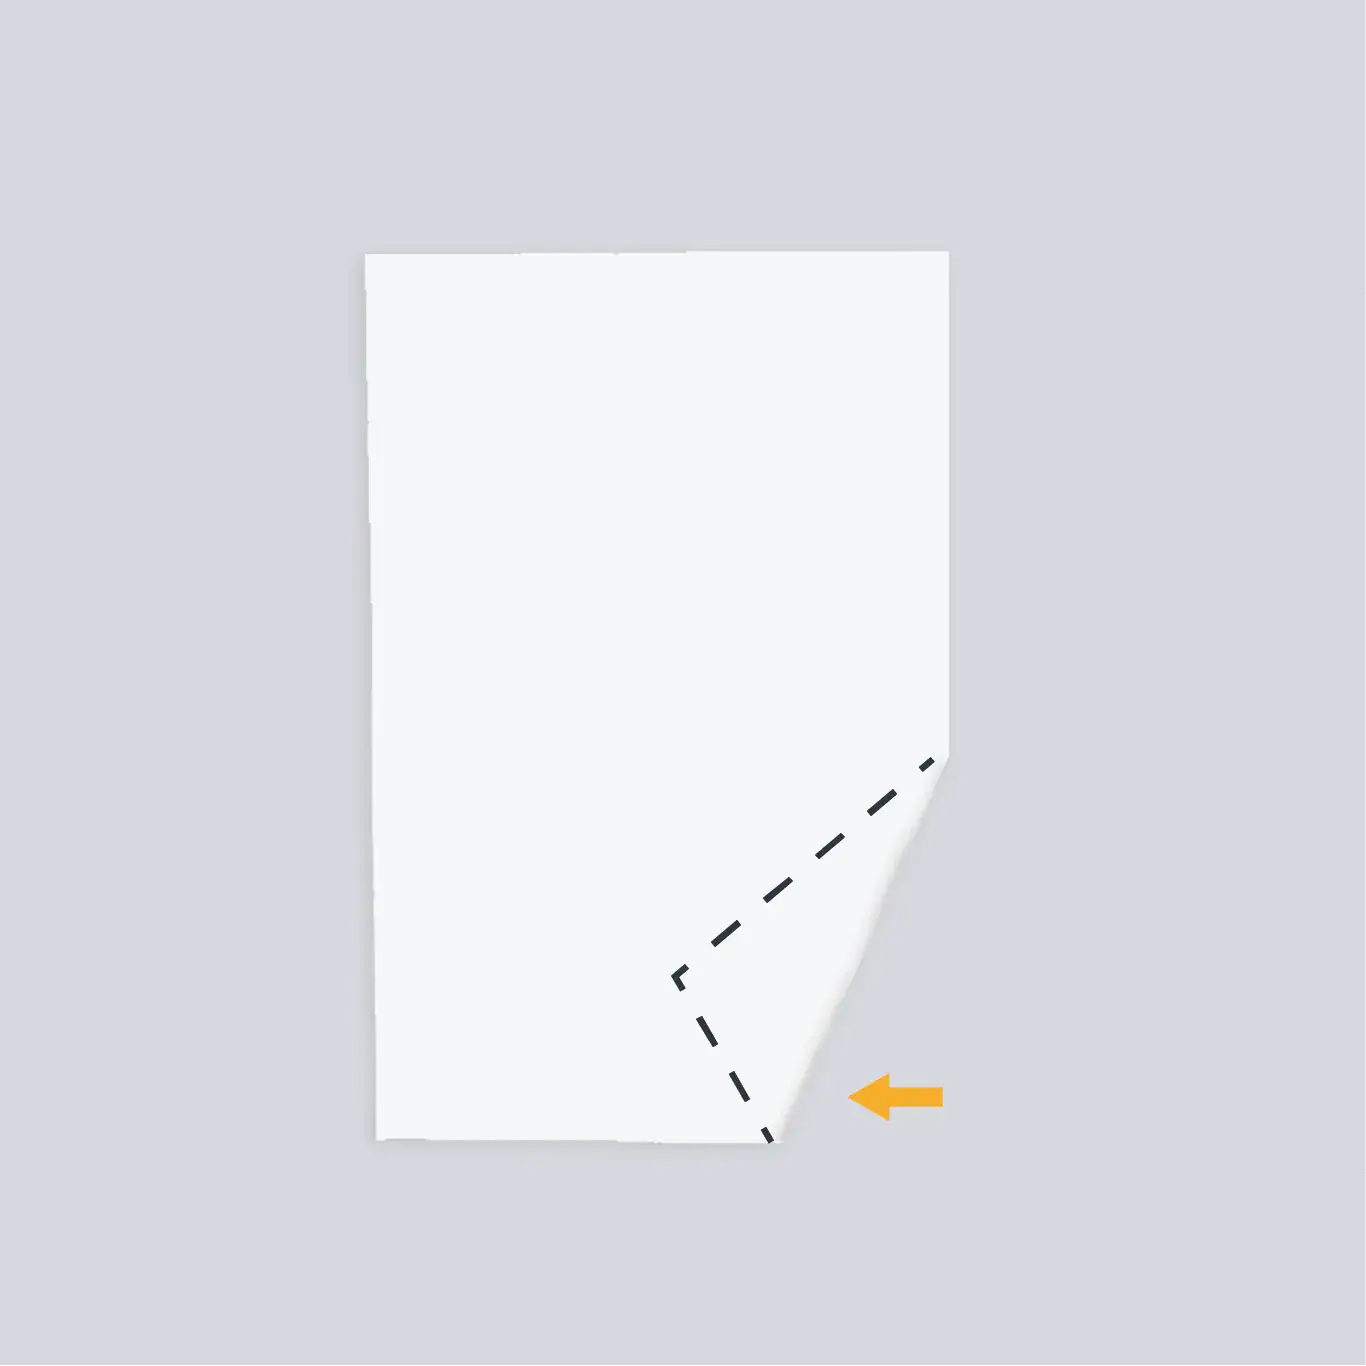
Trim the Airplane using the cut lines then with the graphics down fold the page in half. REF: Line #1
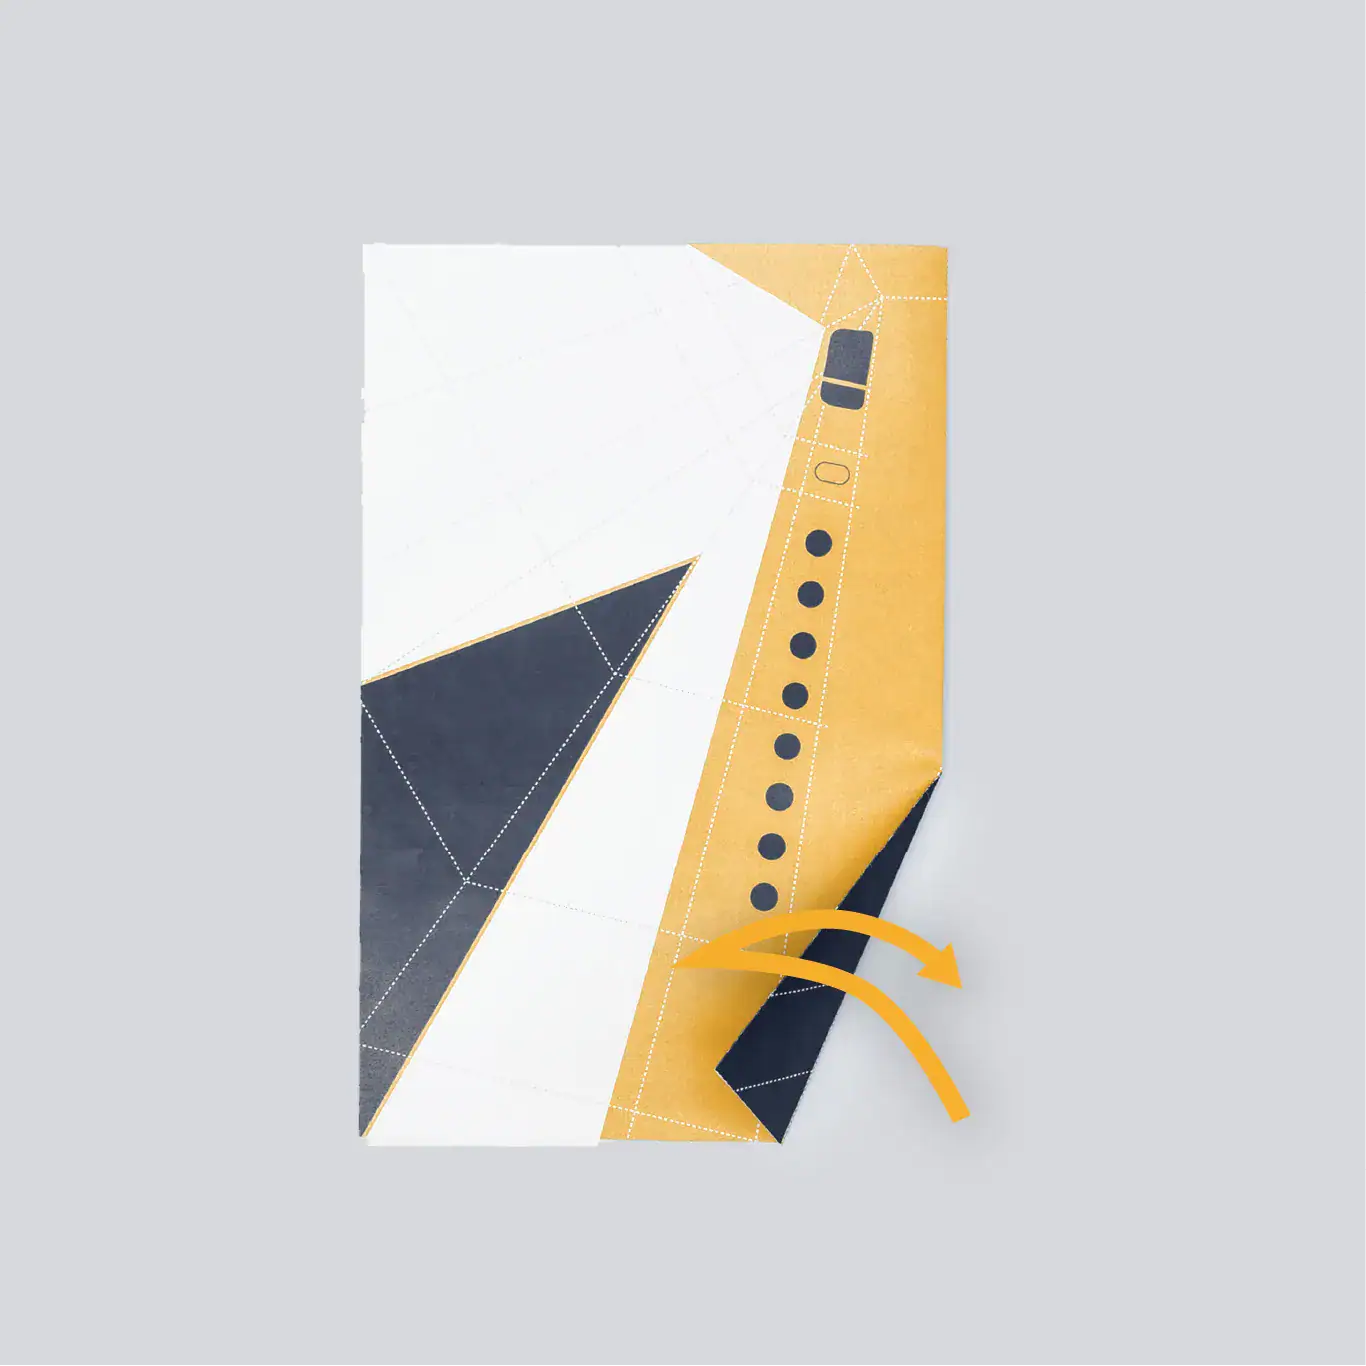
To crease the lower right hand edge of the paper to create a tail, then fold the tail from side to side. REF: Line #2
Flip the plane inside out so that the graphics are pointed inward then reverse the tail fold by softly pressing the tail inside the plan and reshaping the paper.
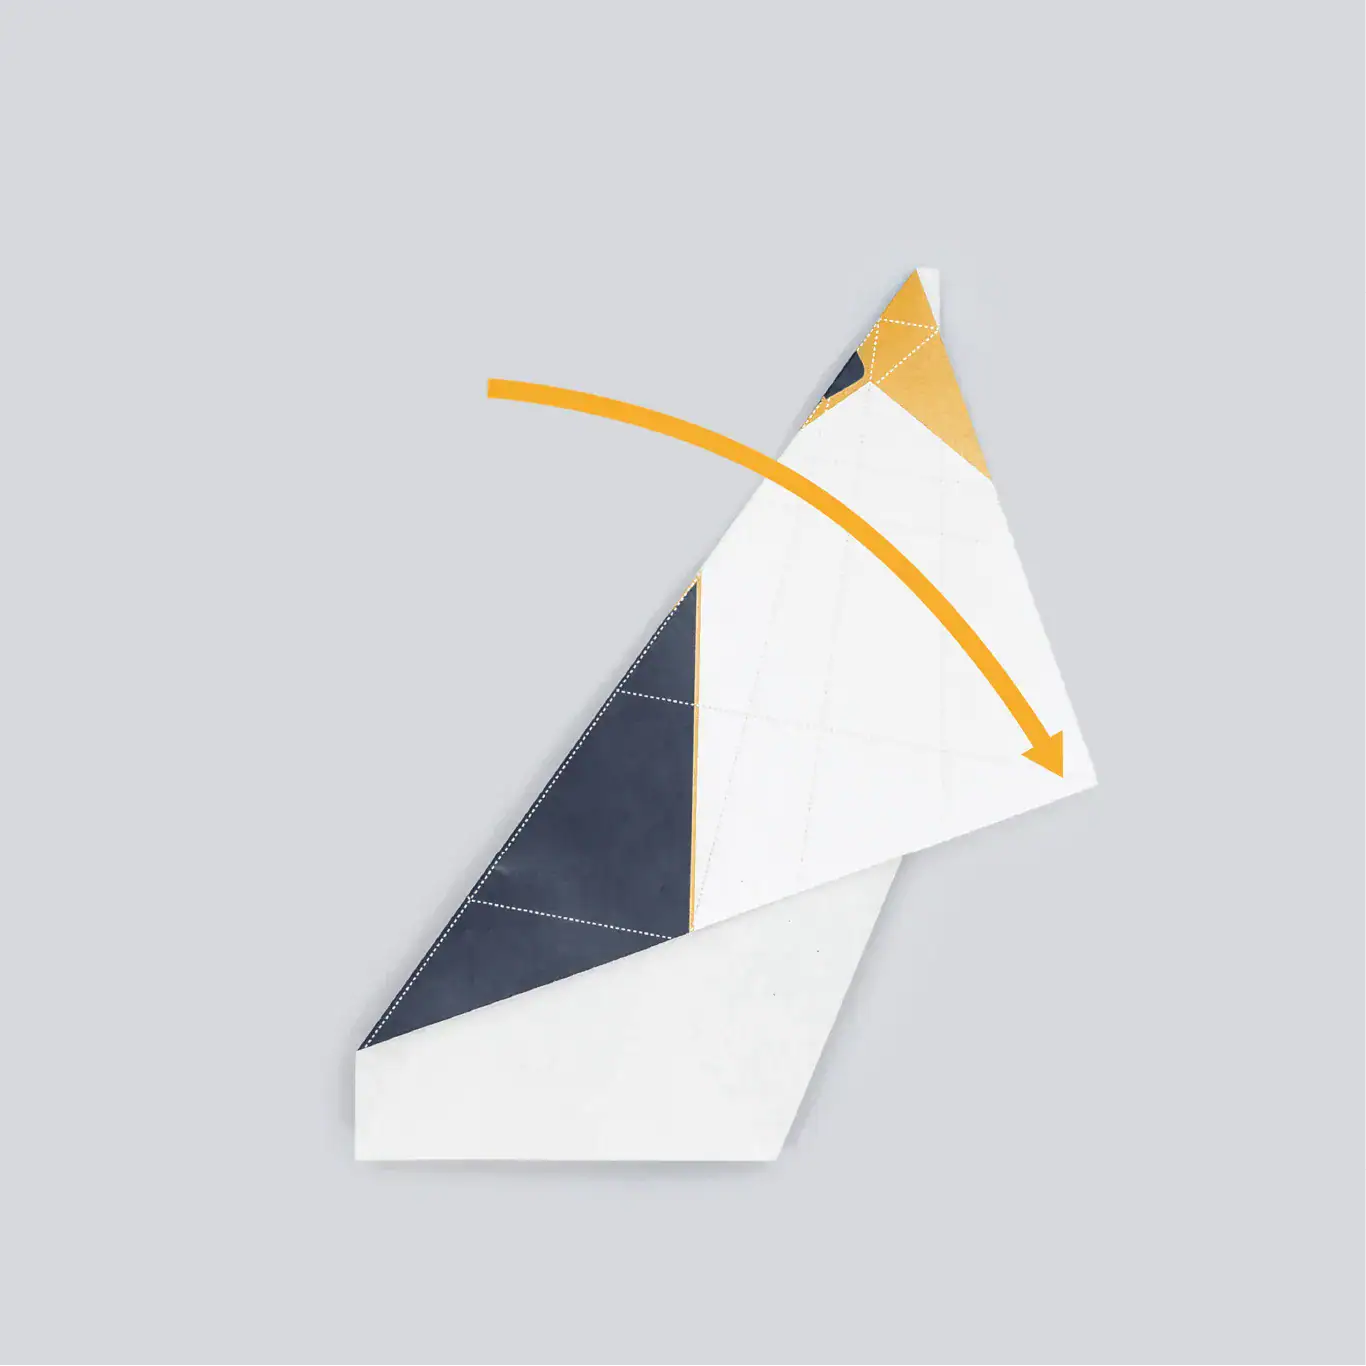
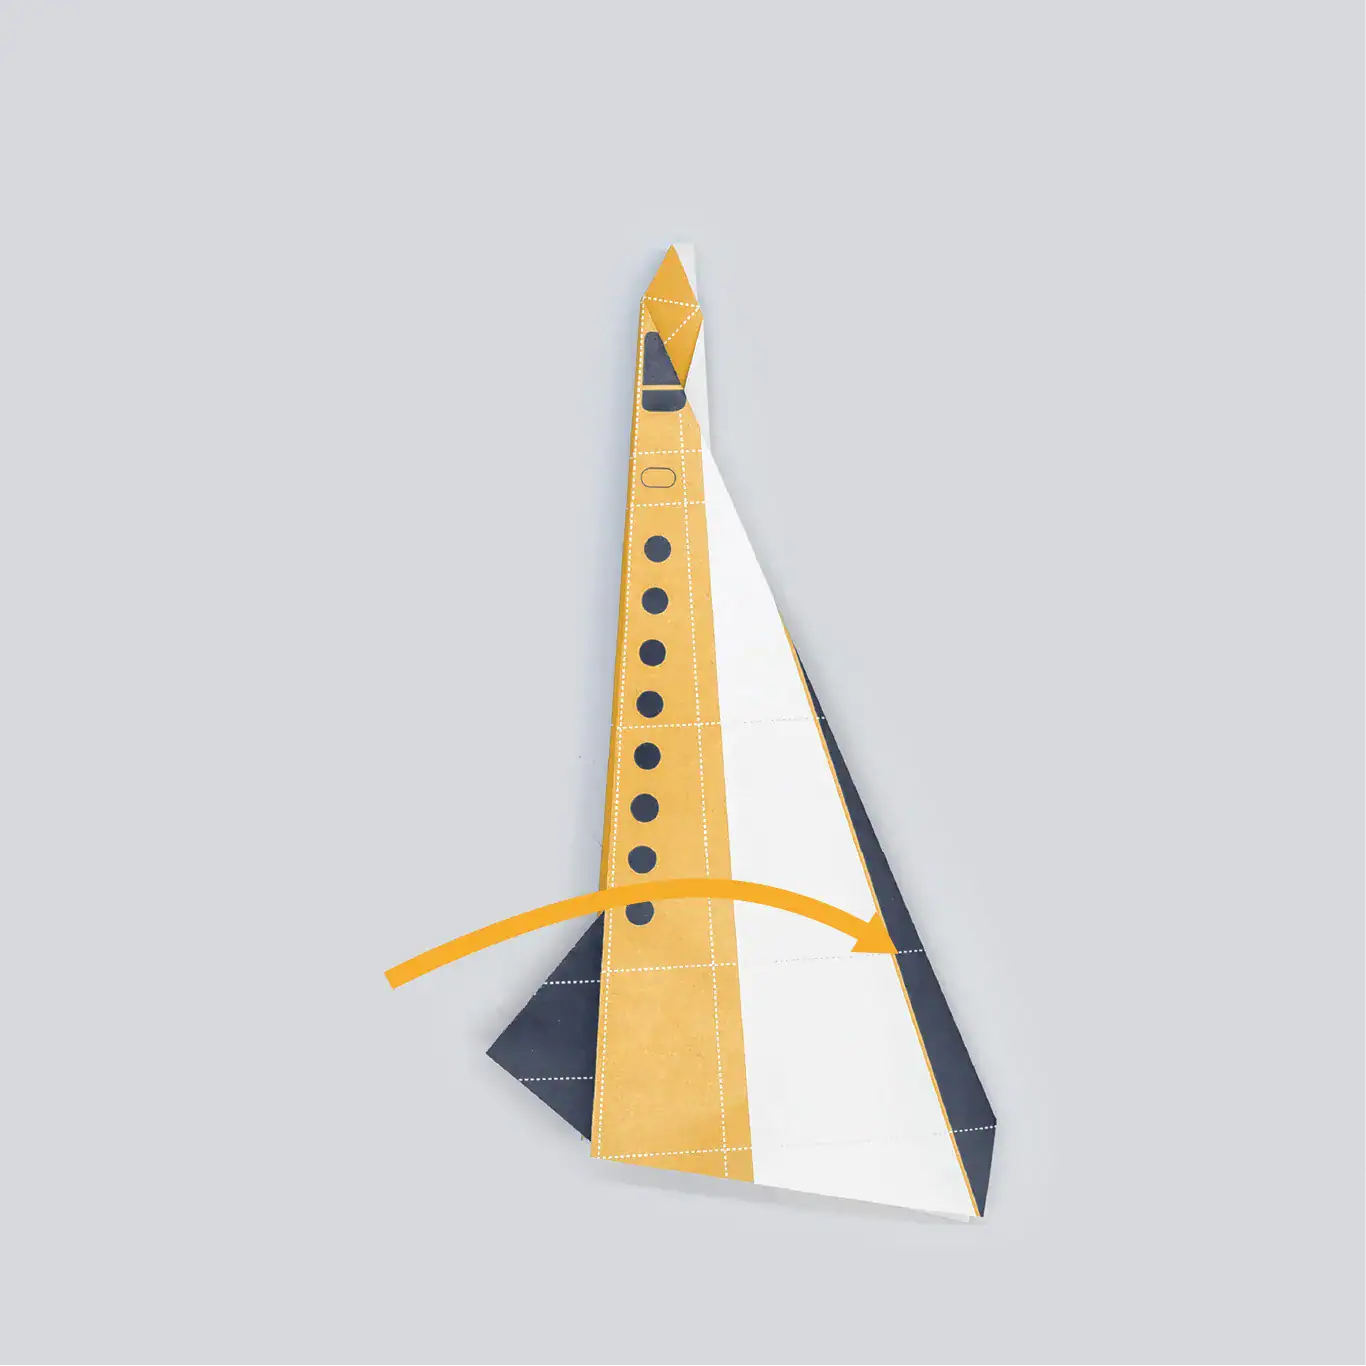
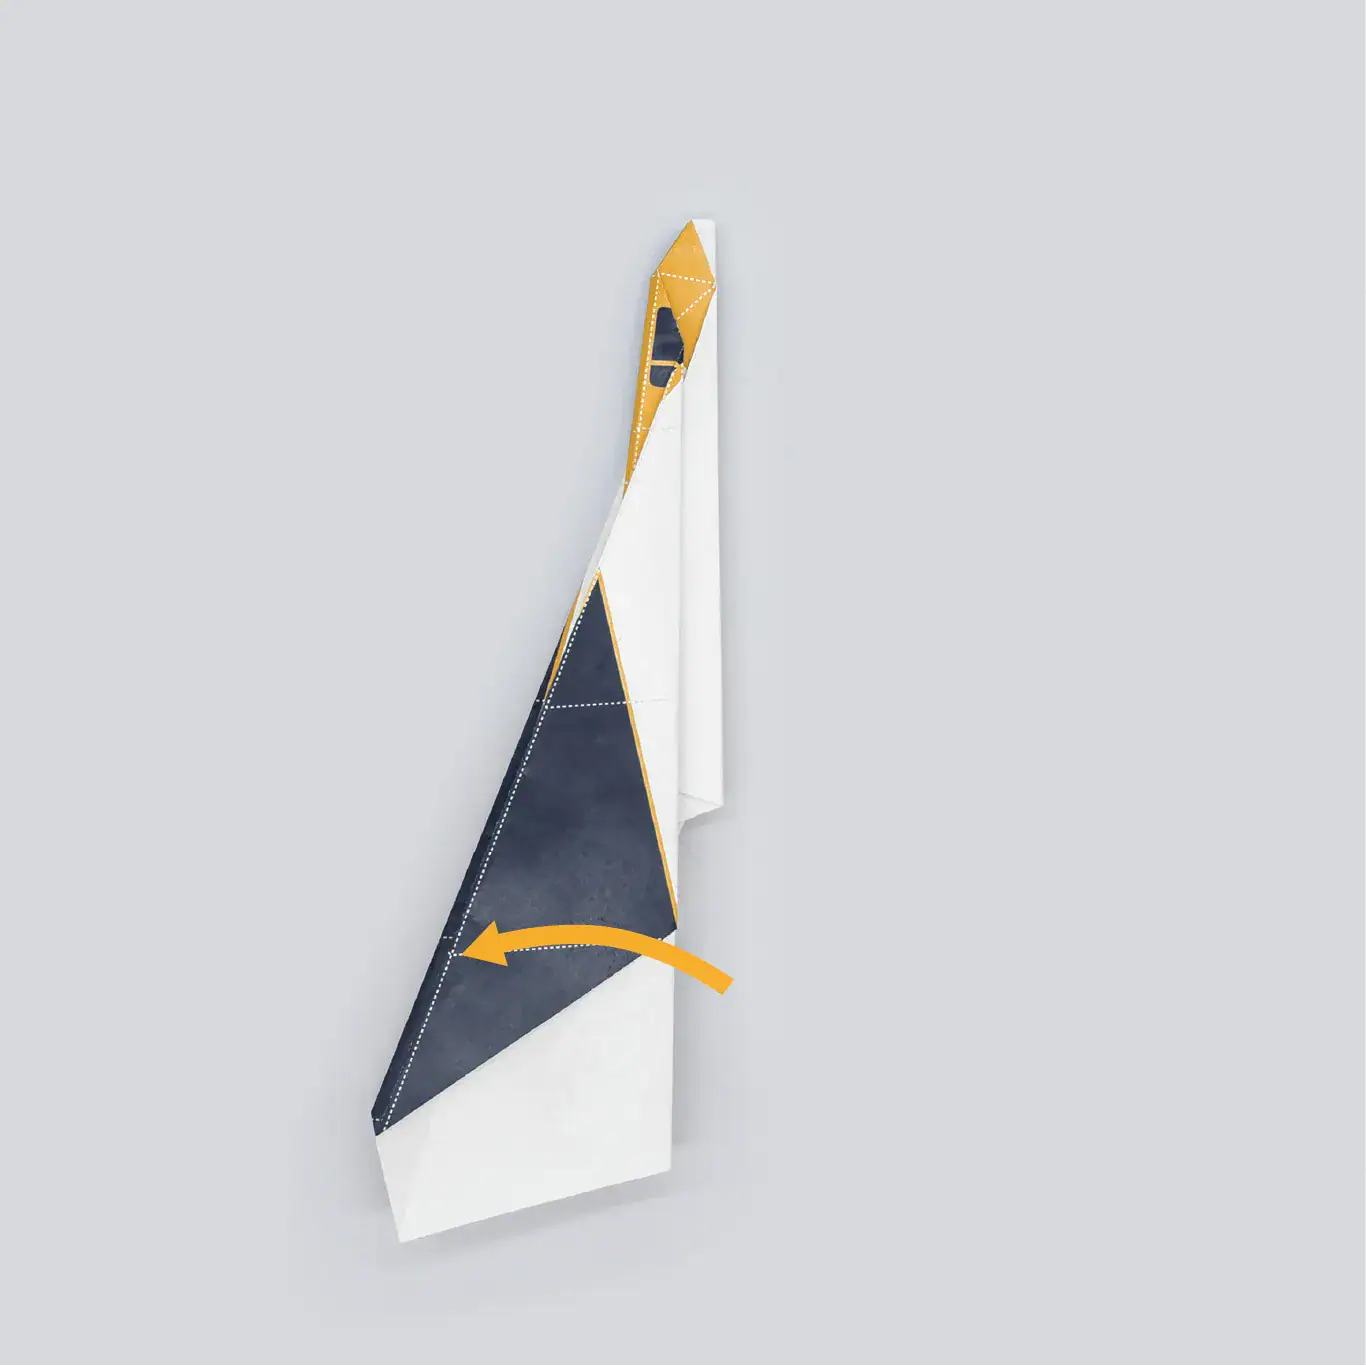
Fold the upper left corner of each side of the plane down and to the right to expose the graphics on the inside. REF: Line #3
Next fold the bottom of the wing up creasing it to match with the bottom of the plane. REF: Line #4
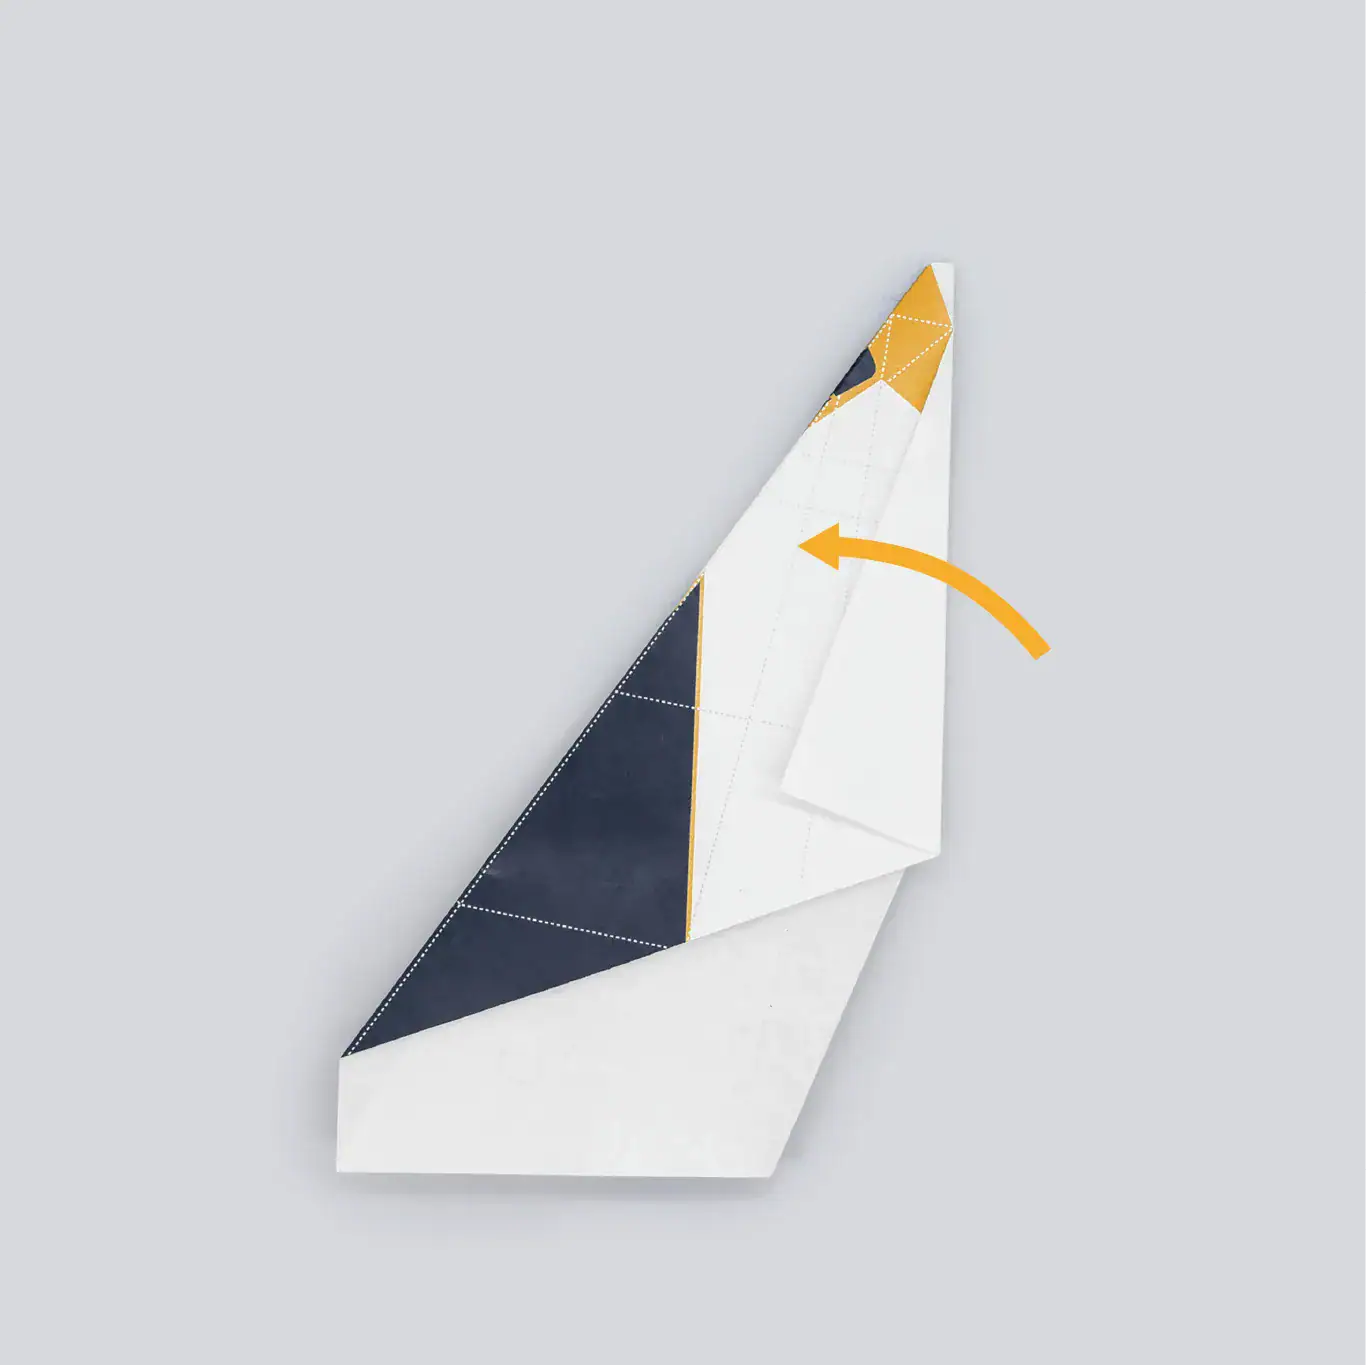
Now fold the wings down again to form the fuseloage. REF: Line #5
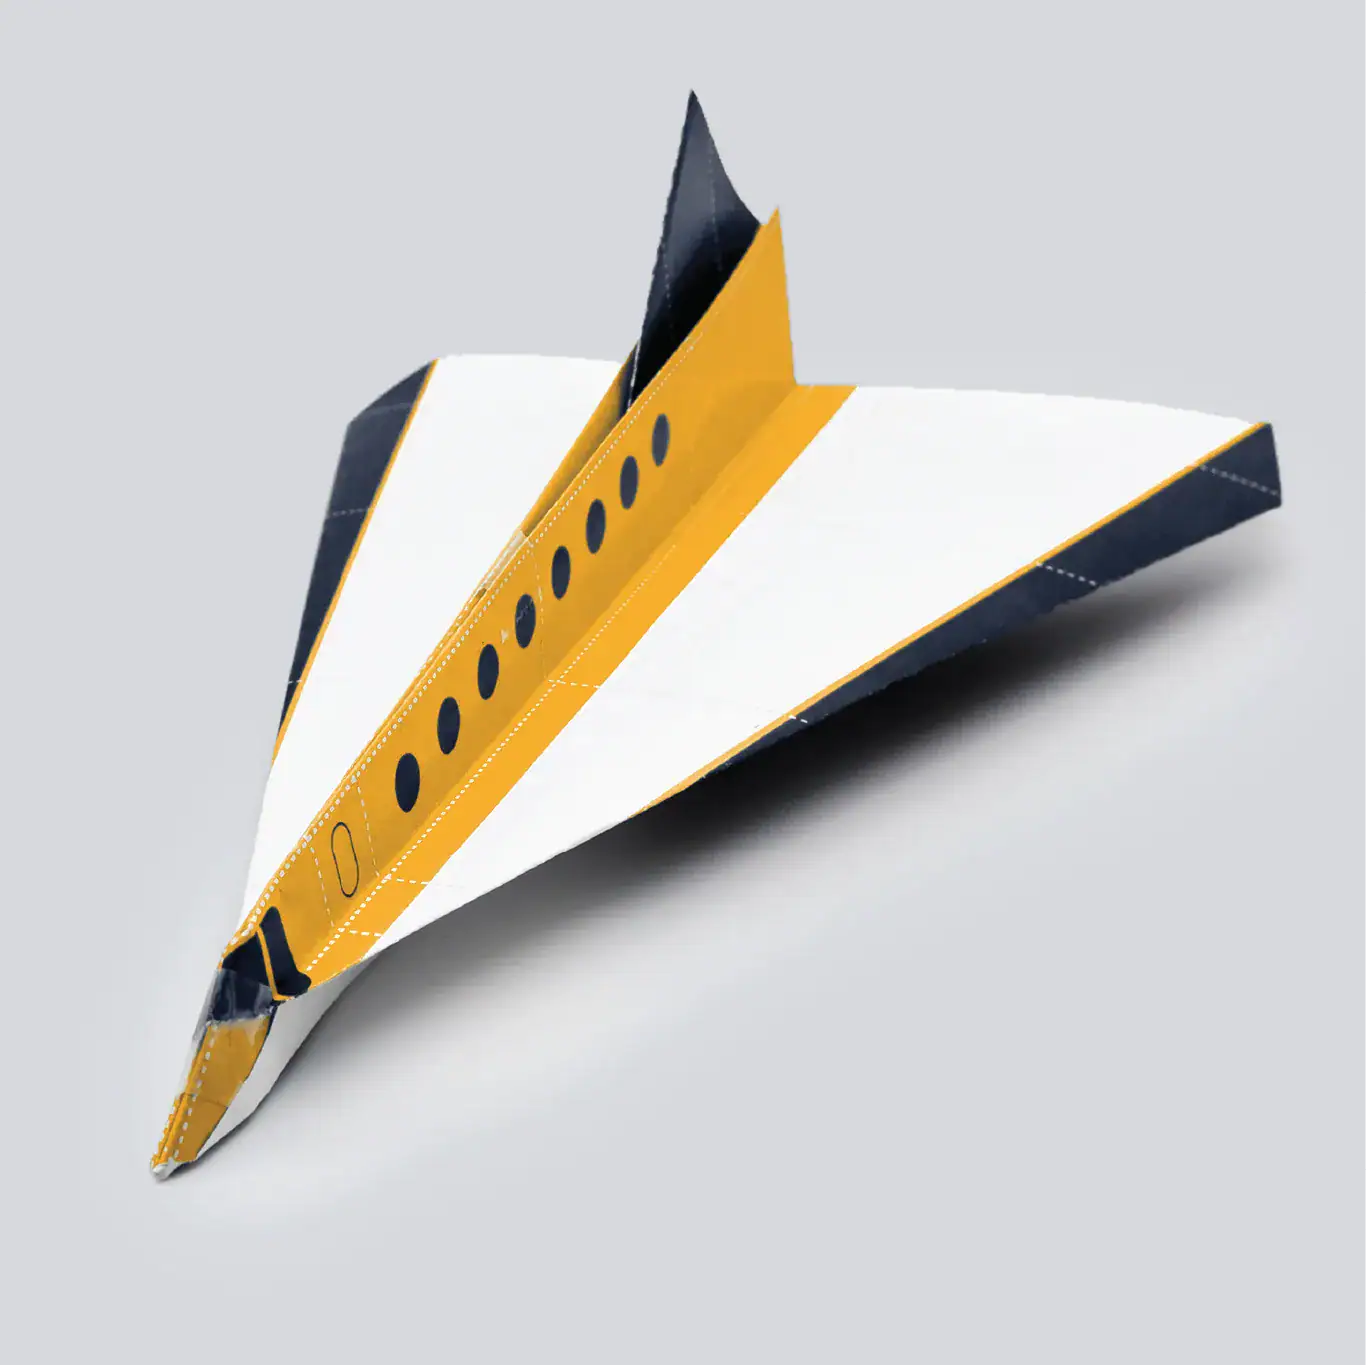
Fold both of the wings up to complete the wing structure. REF: Line #6
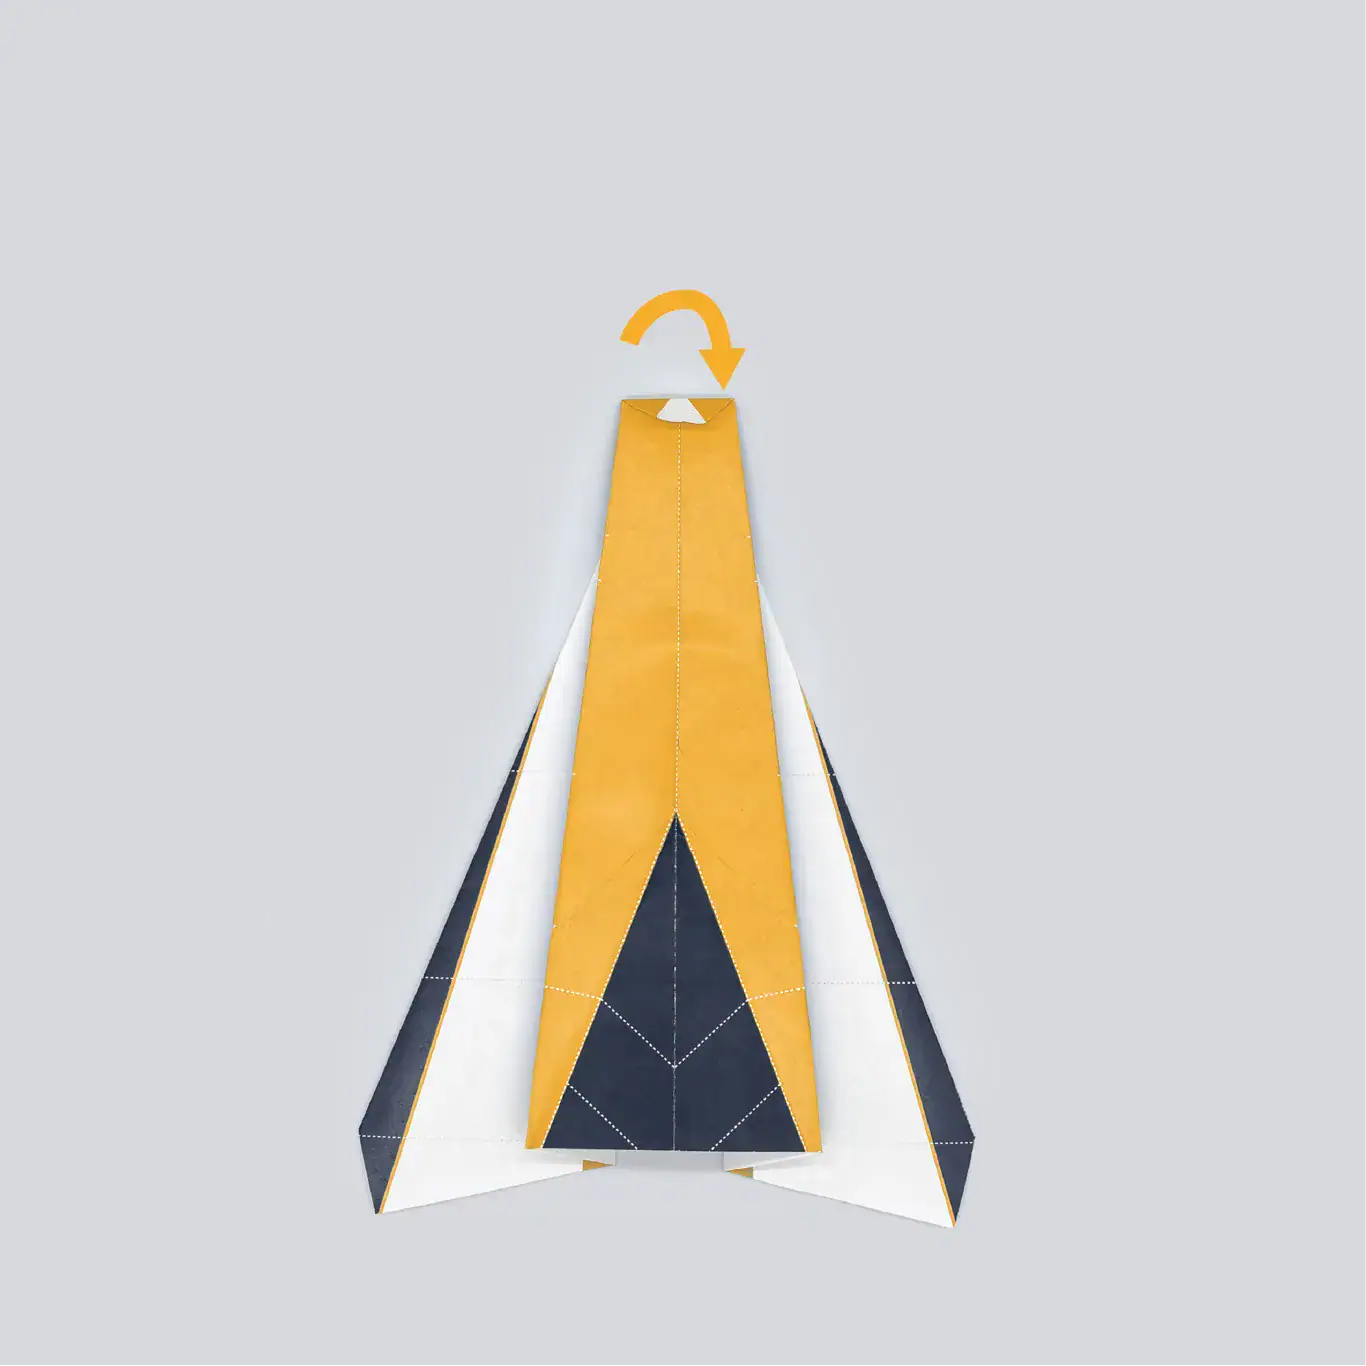
After creasing the wings flatten the plane to expose the center of the page and fold the nose of the page down. REF: Line #7
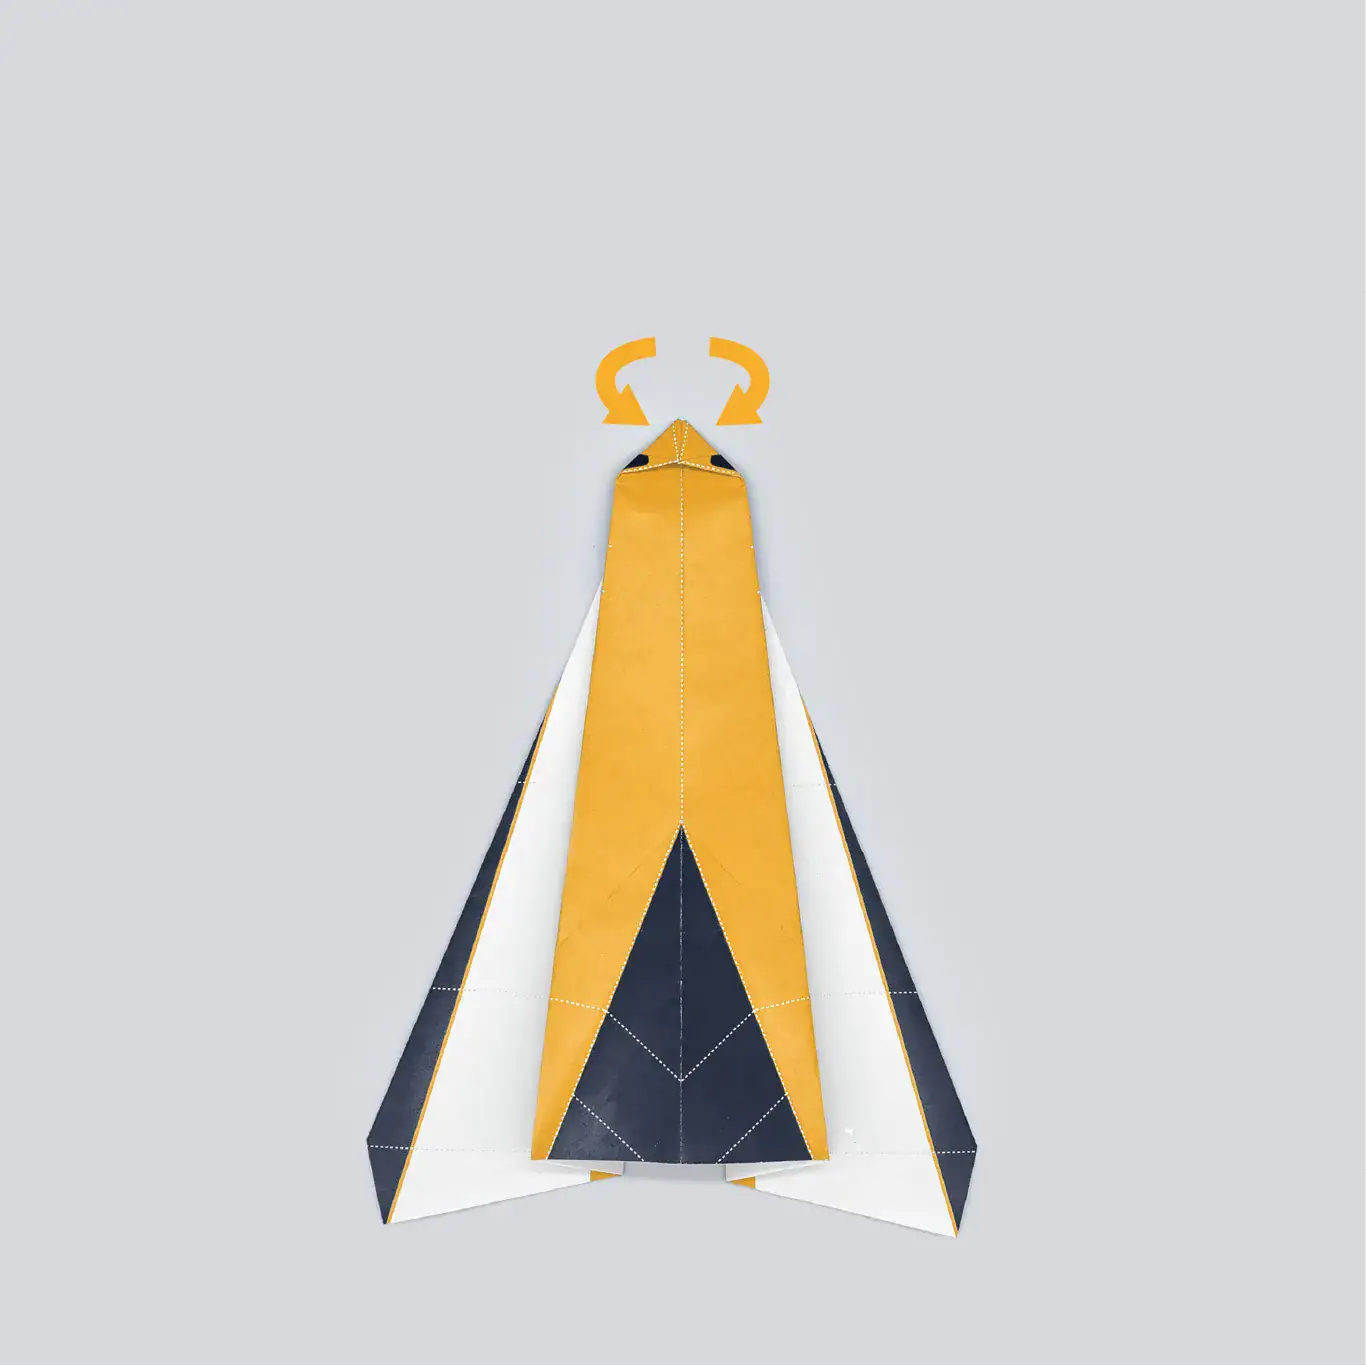
To create the cockpit, fold each corner of the nose of the plane inward to meet in the middle.
Finally add a small piece of tape to the top, nose, and bottom of the plane.