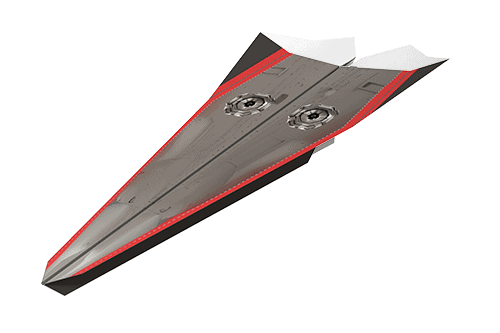
The Modified Dart paper airplane template is relatively easy to fold, however, the option to cut the nose greatly increases the accuracy. Just make sure to tape the nose so it doesn't cause resistance. If you have any trouble check out the folding video on YouTube.
- Build your paper airplane using the worlds best paper plane builder.
- Download and print the paper airplane template. For the best result, don't print the folding instructions on the back of the plane template.
- After you've downloaded and printed the Modified Dart paper airplane template start by getting your workspace ready. I prefer a well lit flat surface that's free of debris.
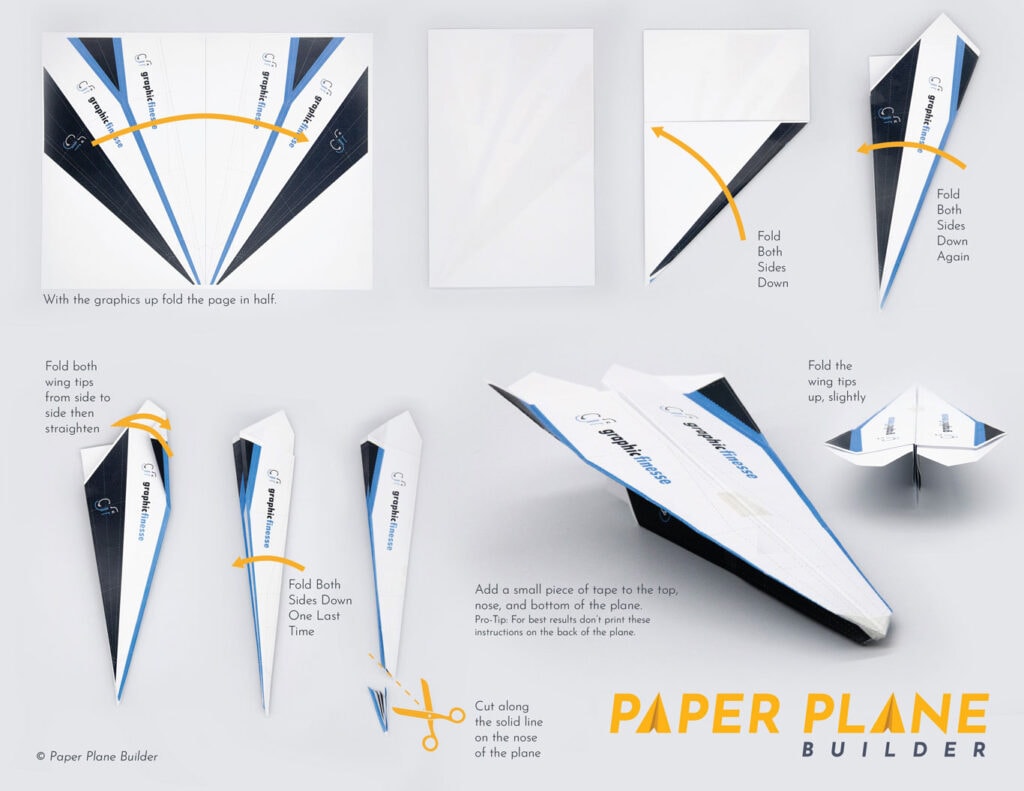
- Once that's ready start by looking over the template and identifying the solid fold lines.
- Lay the paper airplane template on the flat surface with it's graphics pointing up and the nose pointing toward you.
- Then, fold the plane in half along the long edge so that the graphics are pointed inward.
- Next fold the two corners closest to you (a.k.a. the nose) outward until they meet on the creased center fold.
- Carefully make the second fold to the wings so that the edge, once again, meets the creased center fold.
- Create the wing tips by folding the highest point on the wings side to side then straiten them.
- Finish the wings by folding them outward until they meet the creased center fold.
- For increased accuracy cut the tip off the plane at the angle marked on the nose.
- To maintain the paper planes shape add a small piece of tape to the top, nose, and bottom of the plane.
- Finally, fold the wing tips up slightly.
Flight Tip: Adding a little weight to the nose can increase the flight time. I've used both tape and paperclip and, depending on the positioning, either can be effective.


