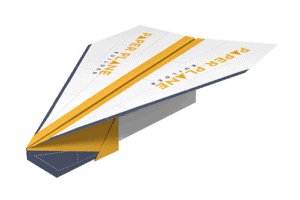
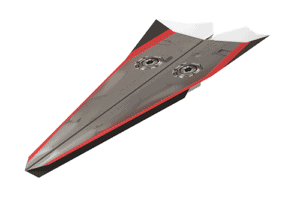
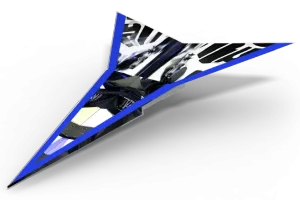
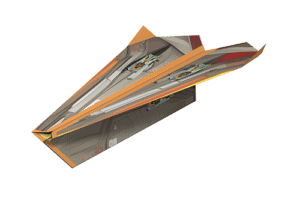
Folding the Bomber for the first time is pretty easy, however, folding the nose can be a little tricky. Just pay close attention to the folds and your paper airplane template will soar with the best
Want to check out a few paper airplane folding videos?

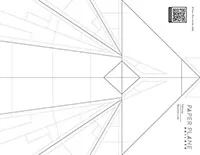
Start by laying the template on a flat surface with the graphics pointing down and the nose pointing toward you.
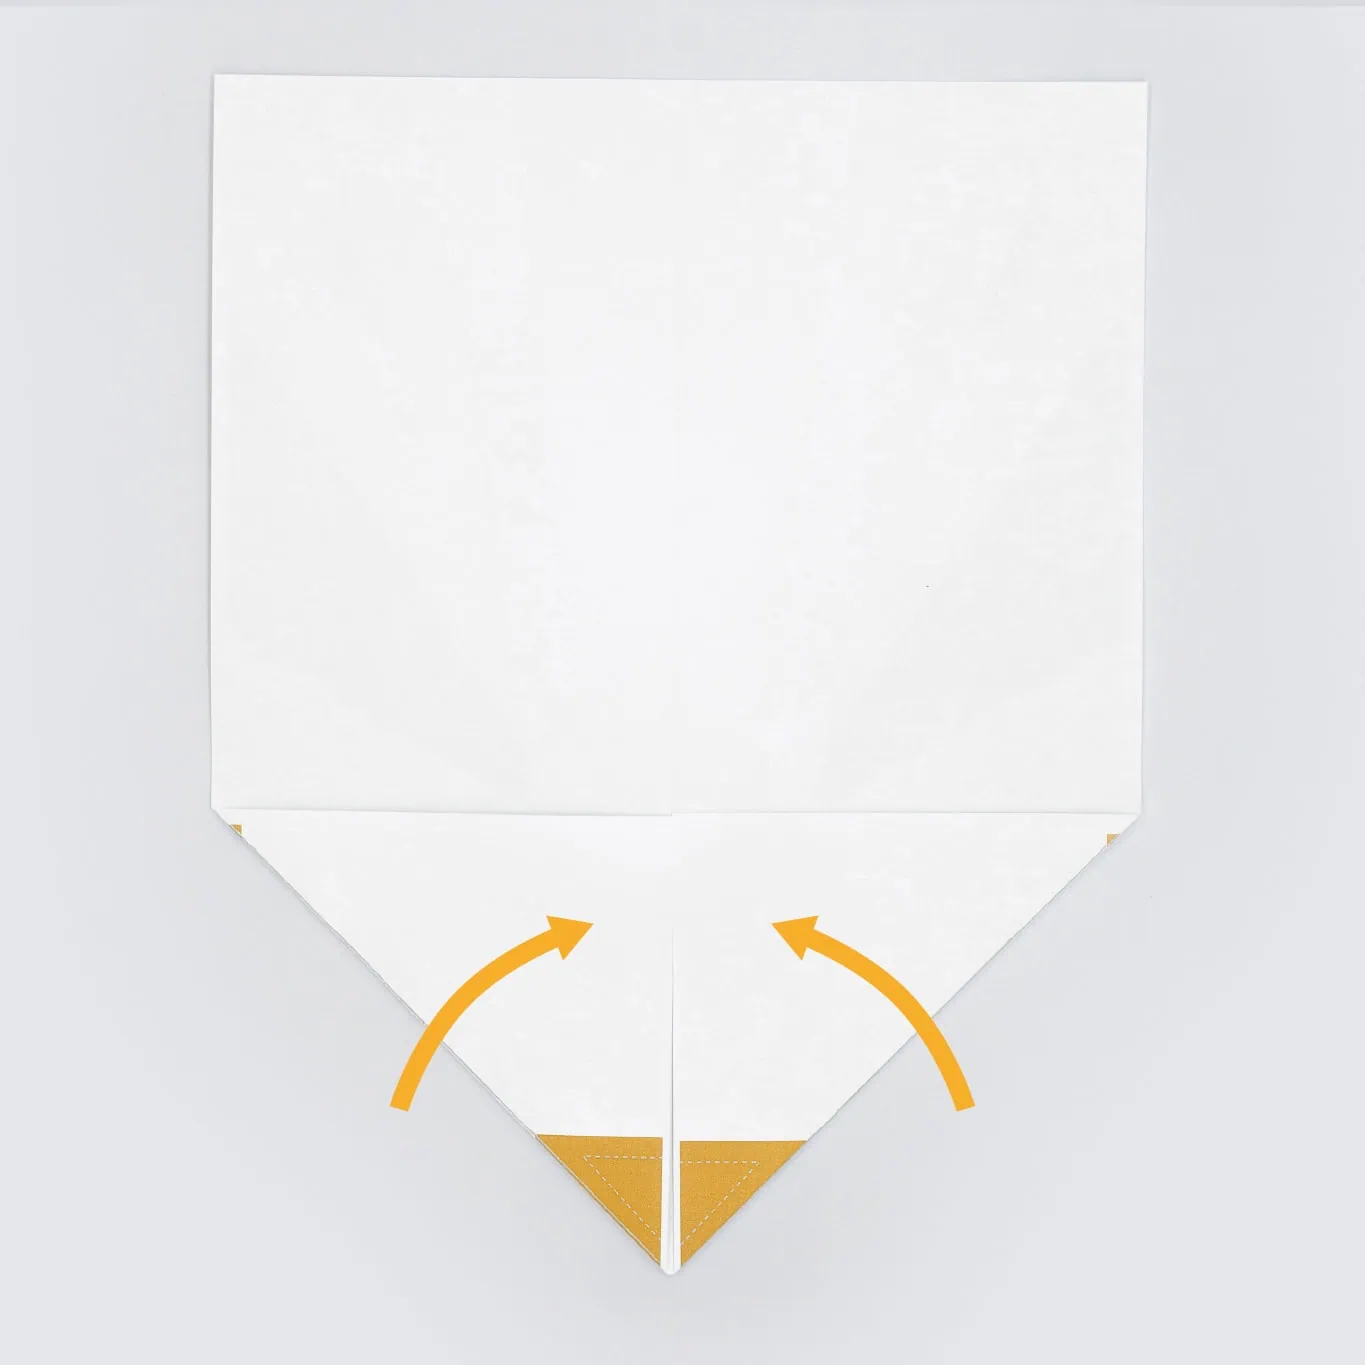
Next fold the top two corners inward until they meet in the middle creating a point.
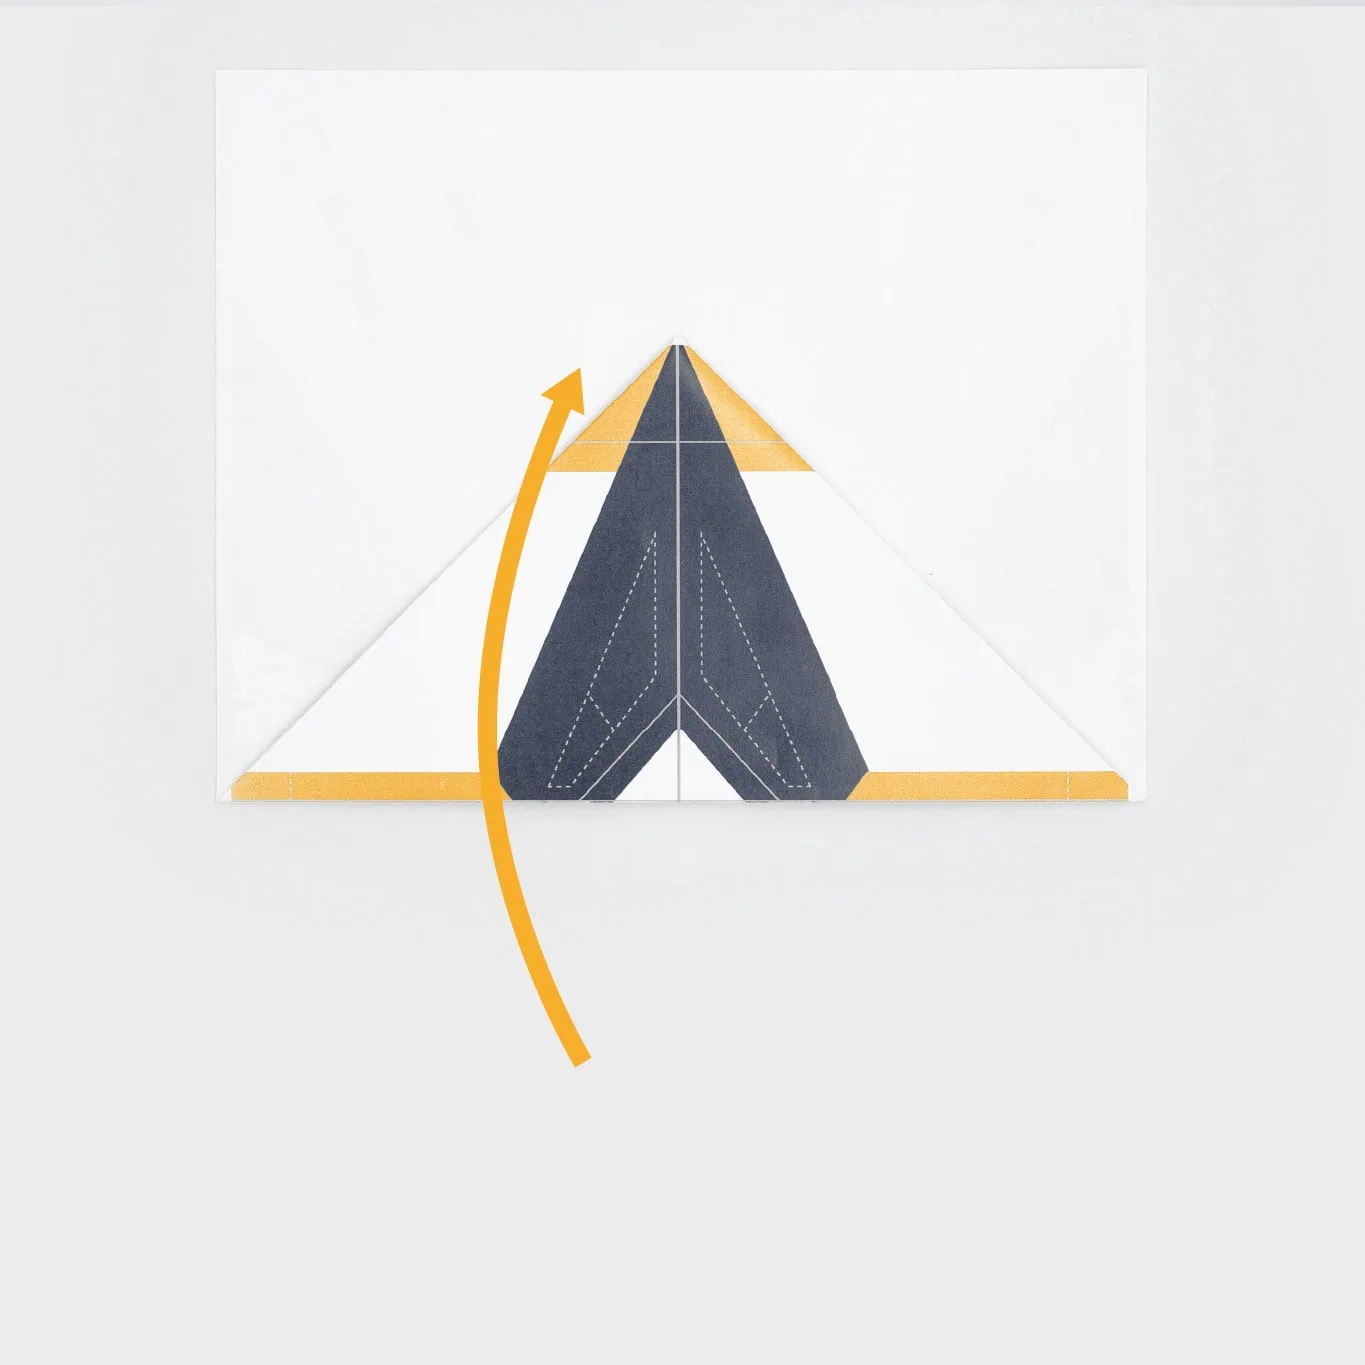
Carefully fold the point of the paper air plane away from yourself.
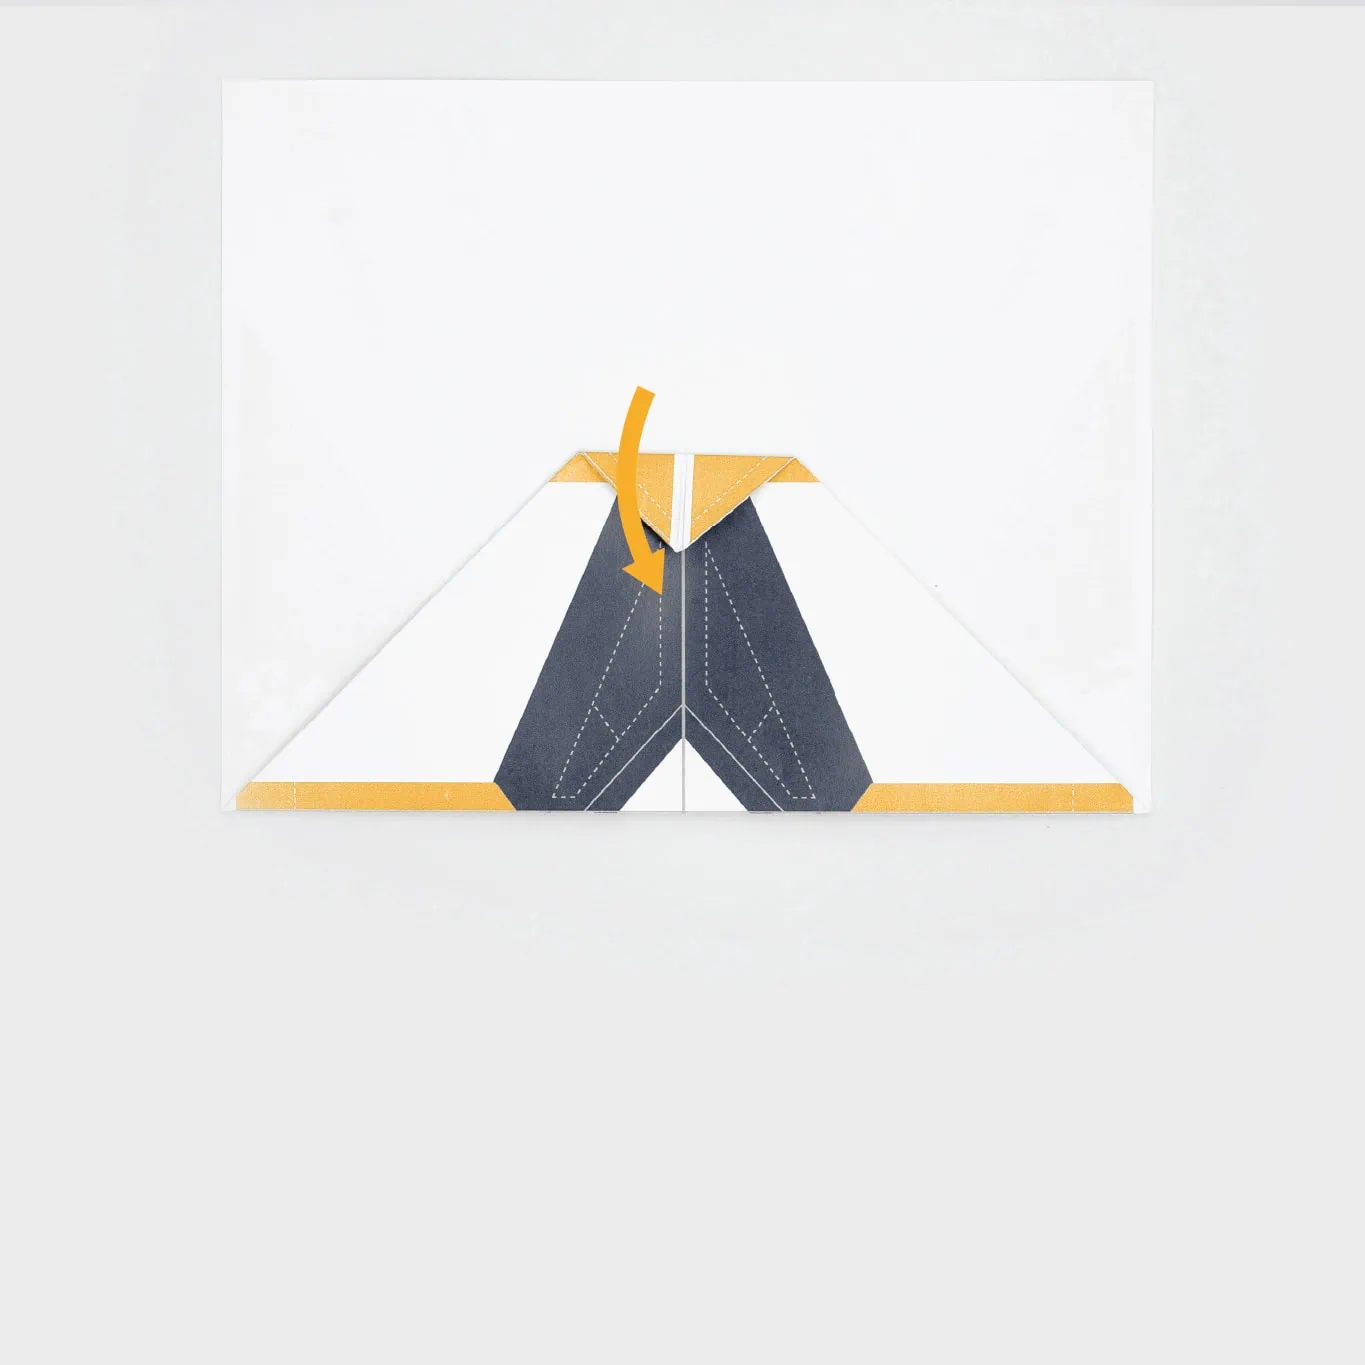
Then, fold the very tip of the newly created point toward yourself.
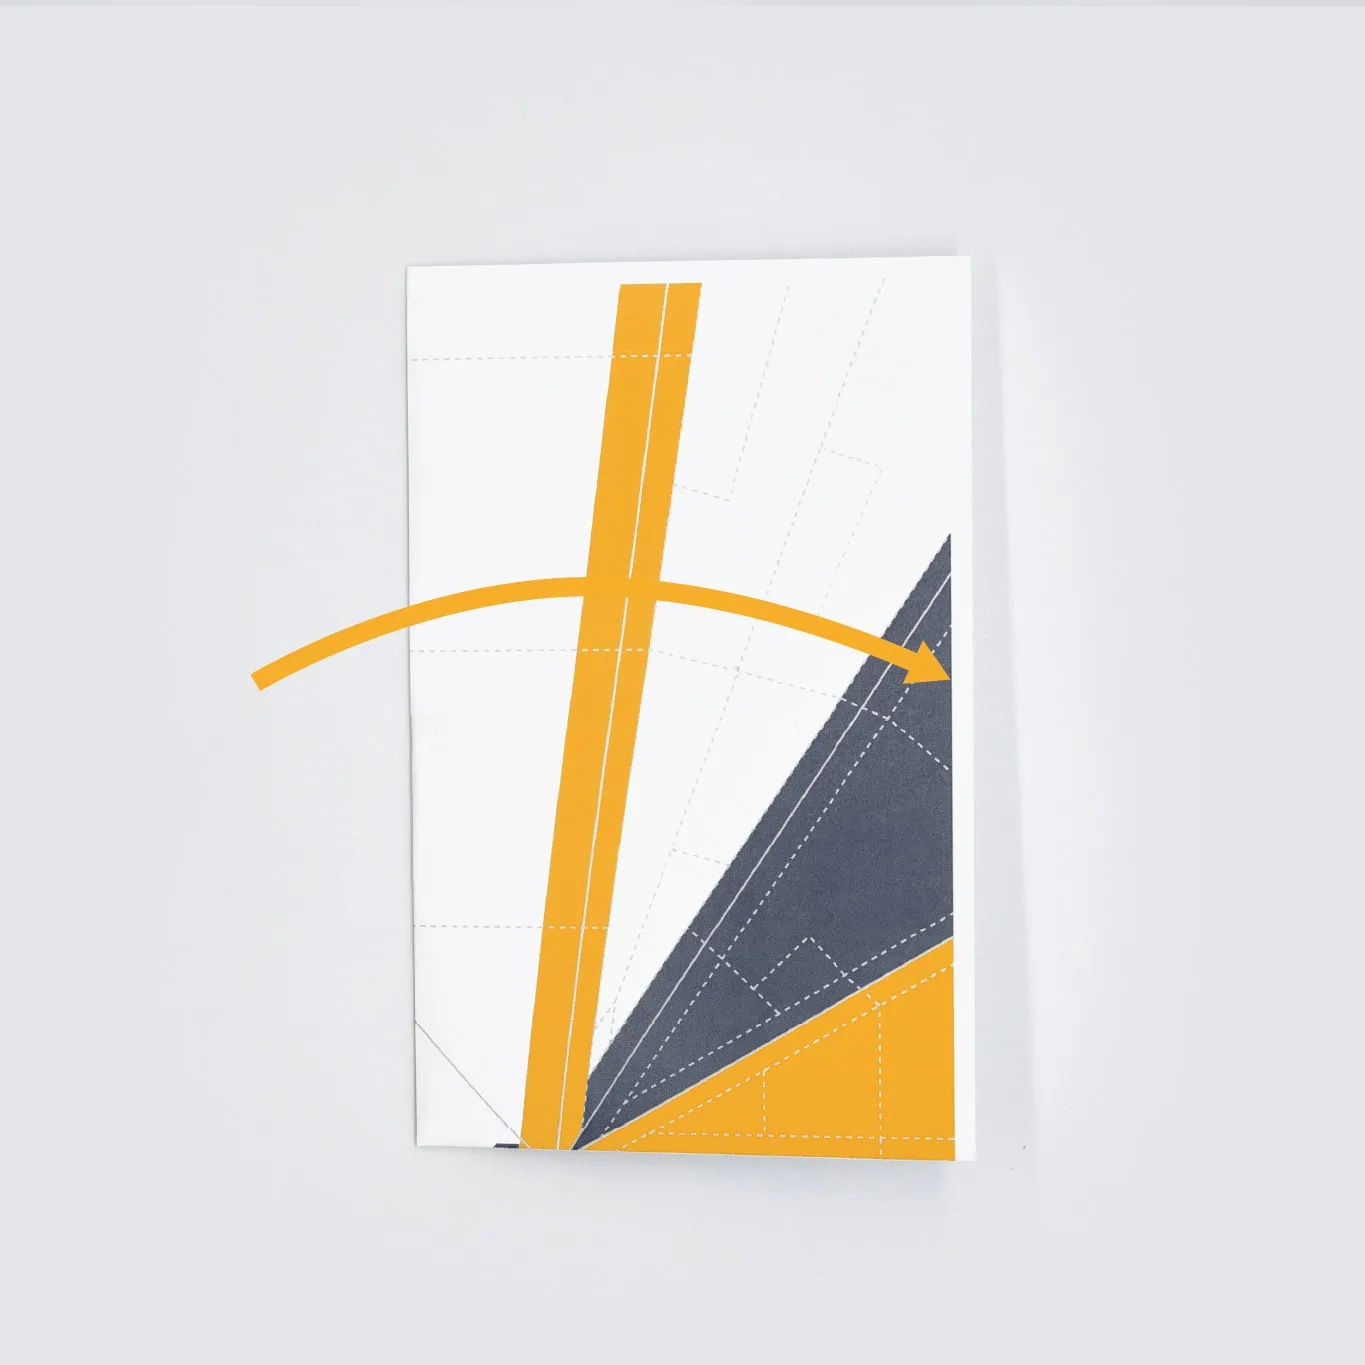
Next, fold the plane in half.
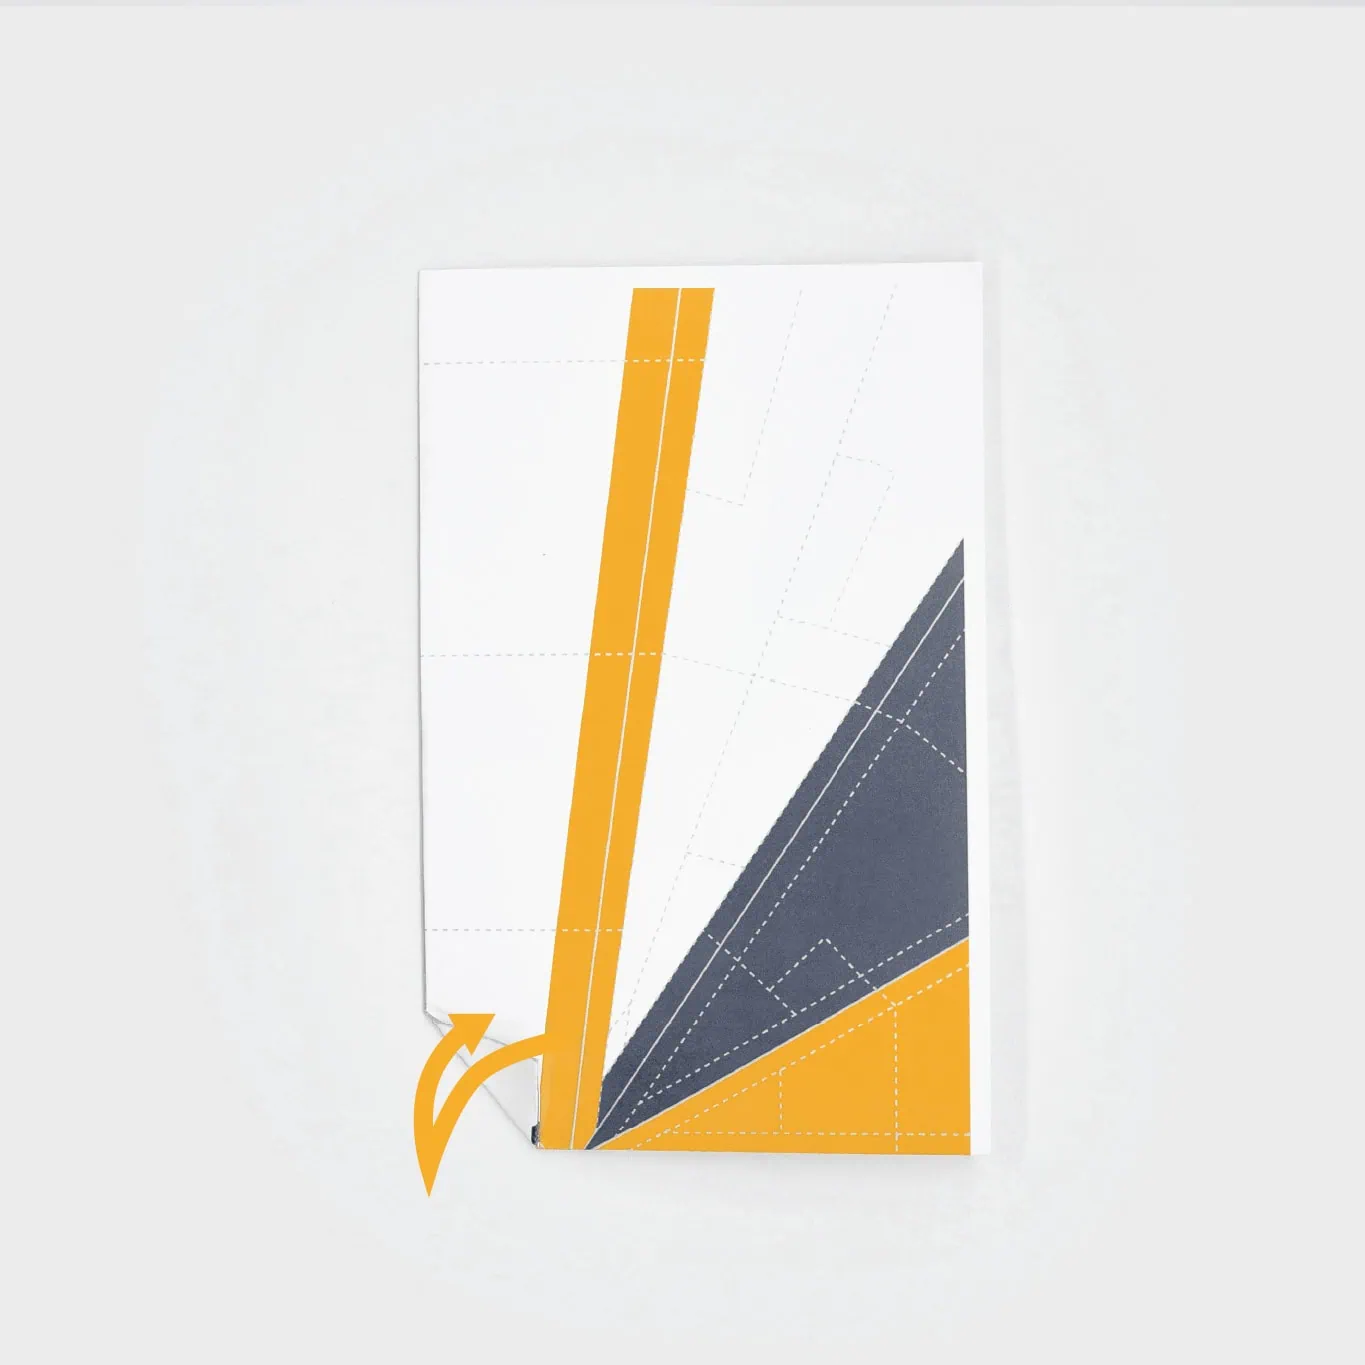
Crease the nose of the paper plane by creating a triangle in the nose by folding it back and forth.
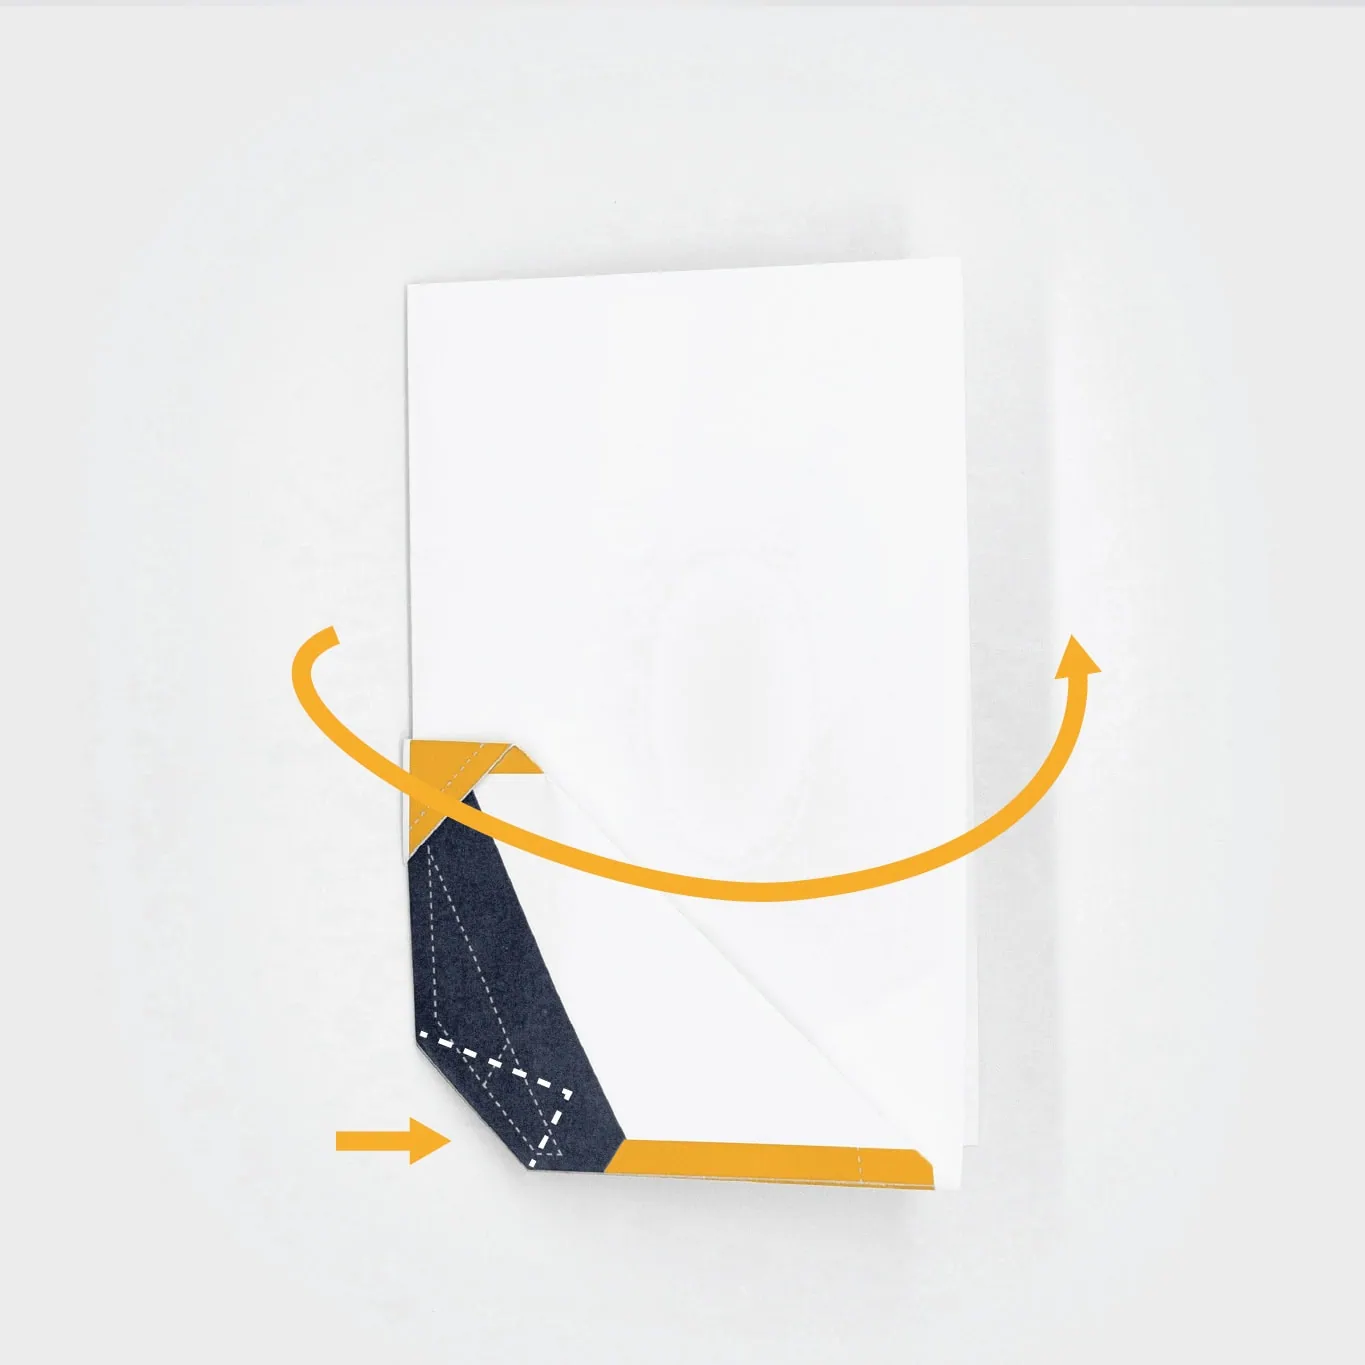
Reverse the center fold so that the graphics are on the inside and softly press the triangle fold so that it folds inside the plane.
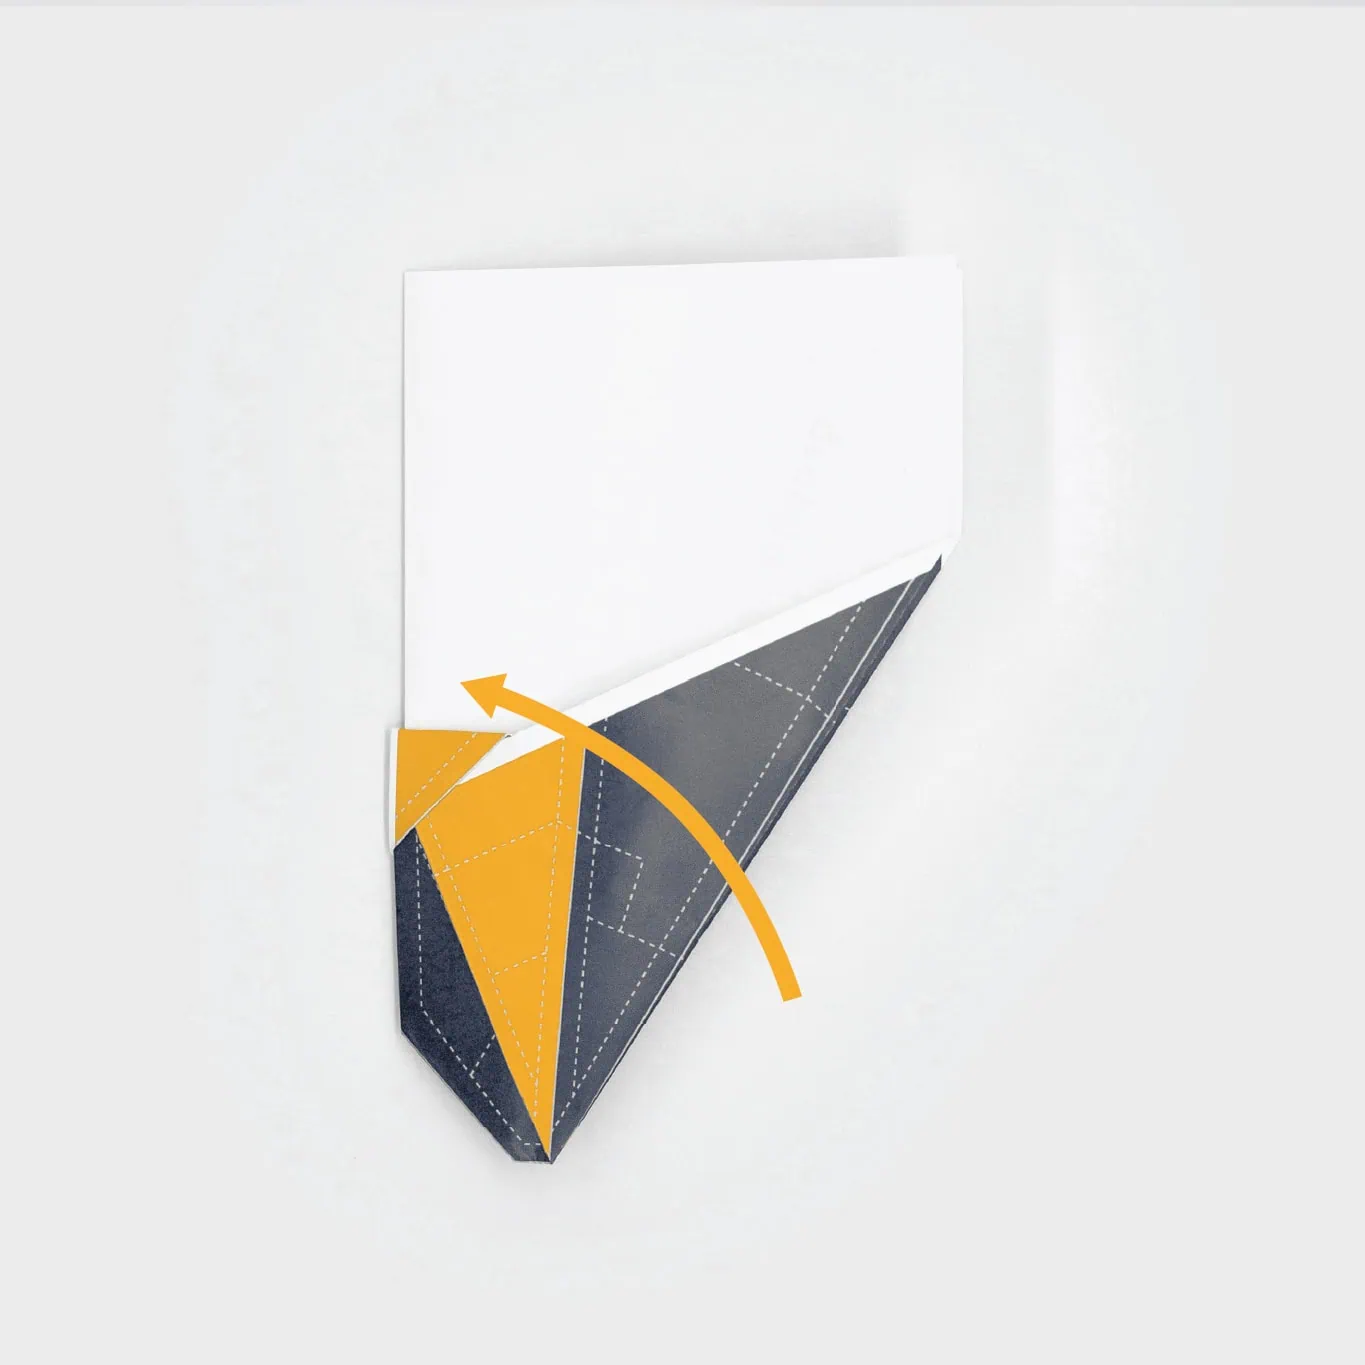
Make the first wing folds so that both sides can be tucked inside the bottom flap.

Fold both wings down and create a strong crease on the top edge so the plane has a solid transition from fuselage to wing.
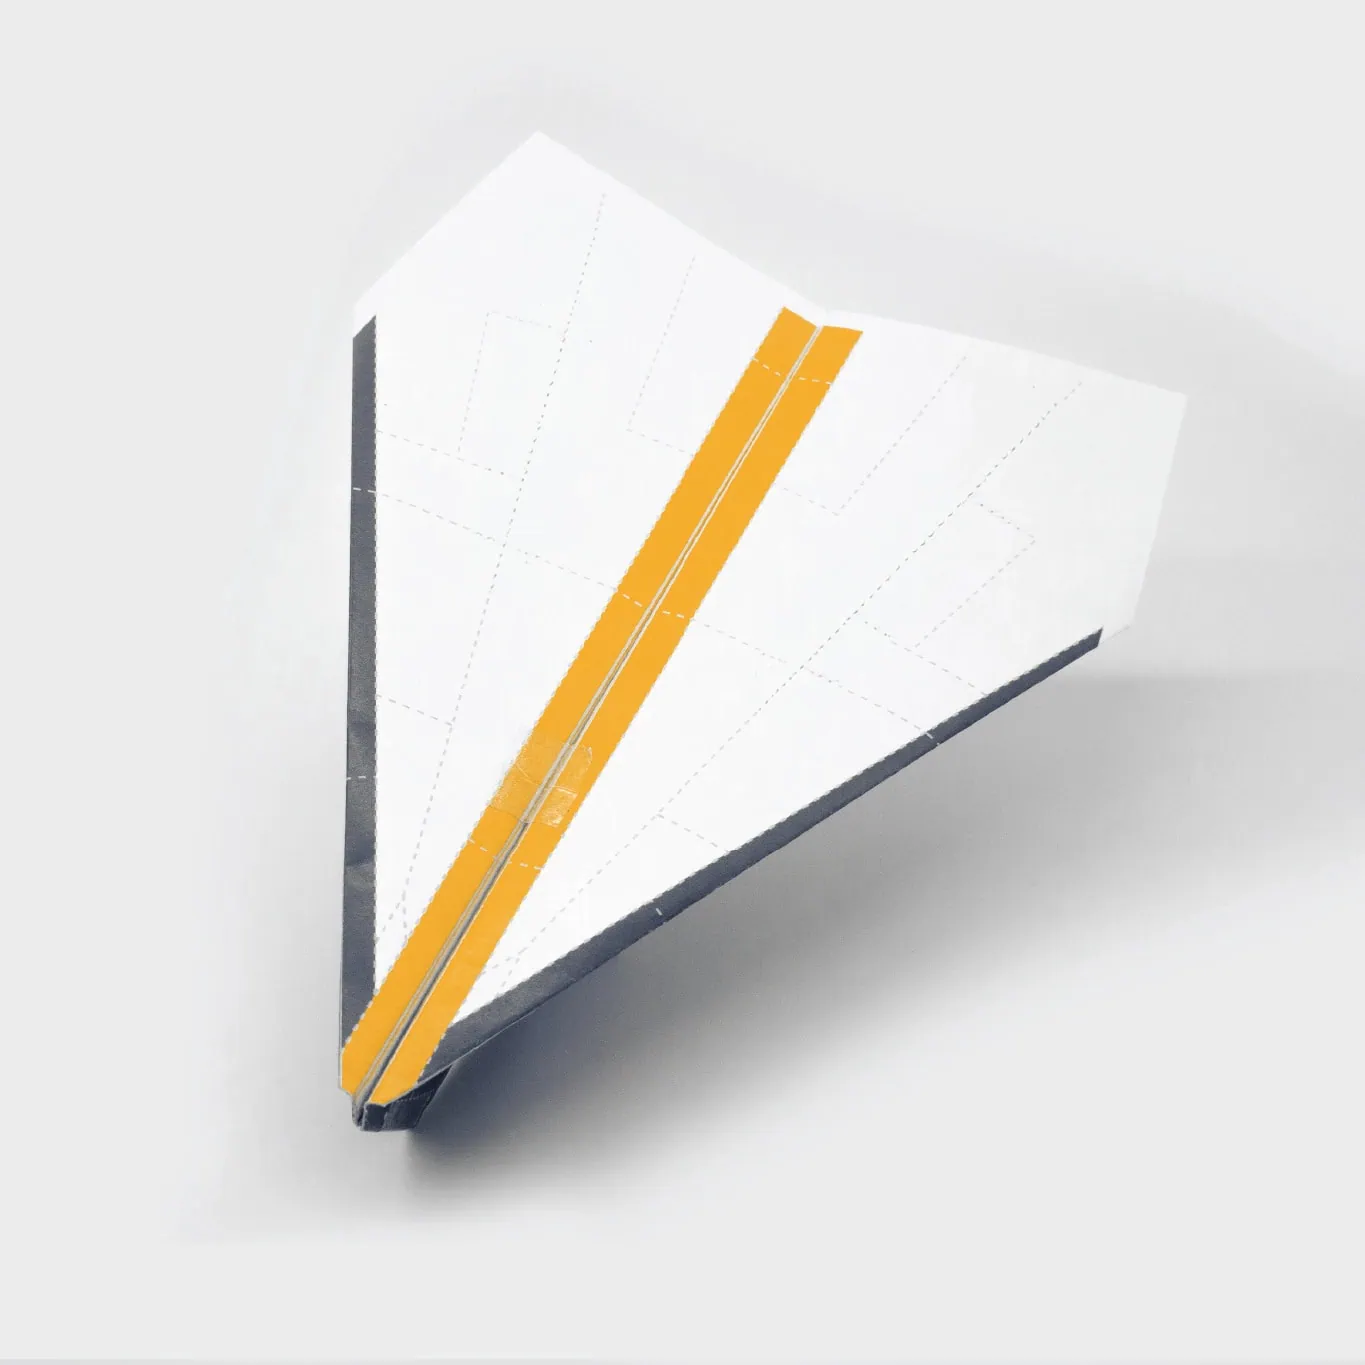
To maintain the paper planes shape add a small piece of tape to the top, nose, and bottom of the plane.